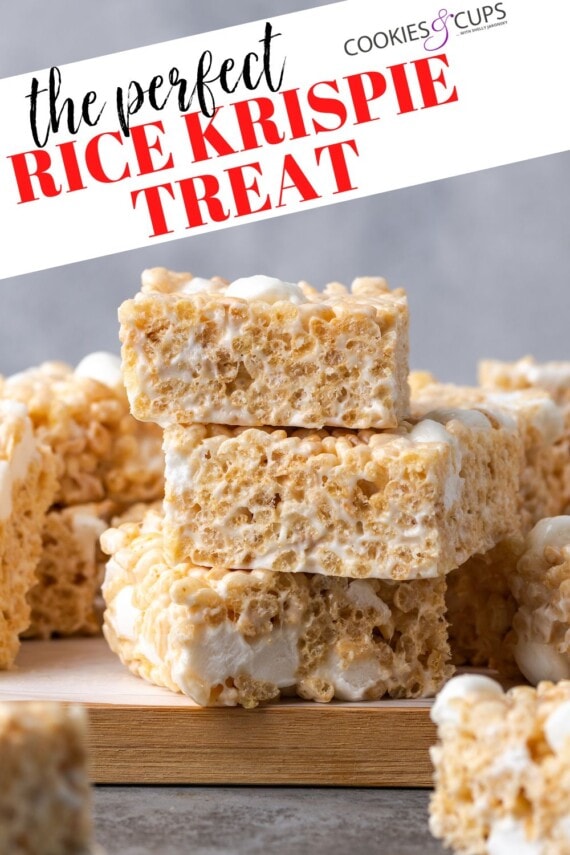
My Perfect Rice Krispie Treat Recipe is the absolute BEST for a reason! These simple crispy rice treats are loaded with just the right amount of Rice Krispies cereal and buttery, melty marshmallows, for the ultimate bakery-style, no-bake recipe!
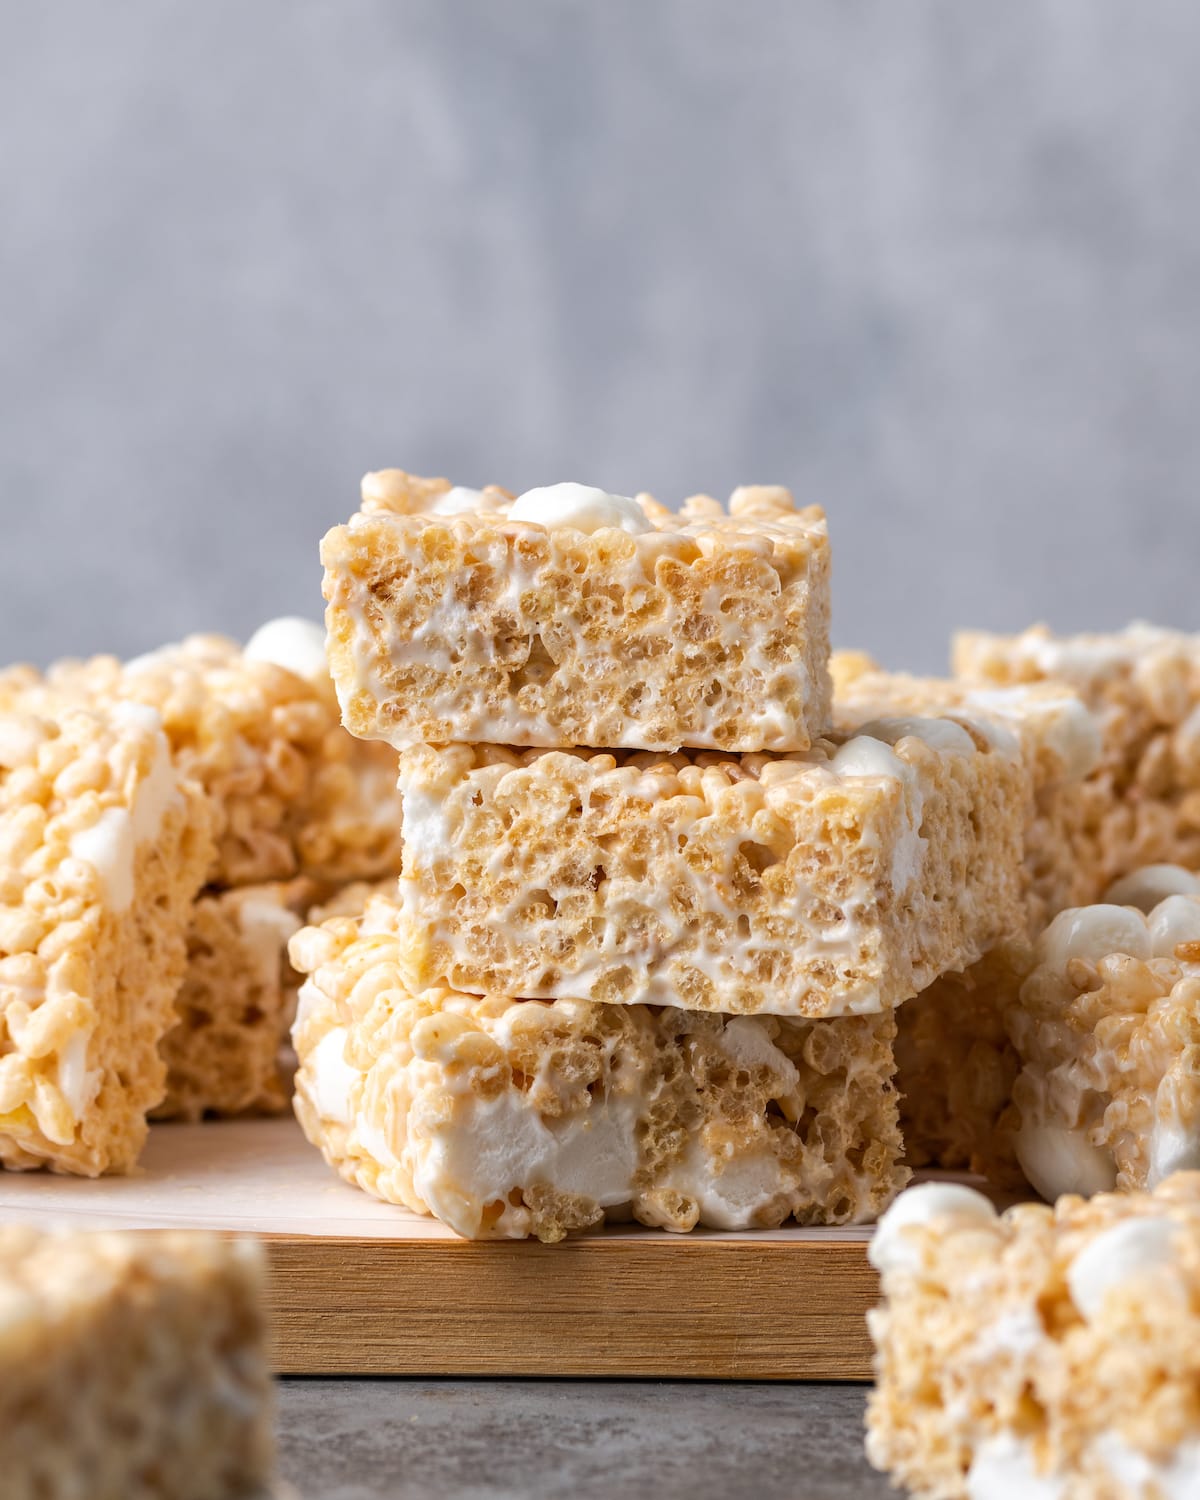
Table of Contents
- Perfect Rice Krispie Treats
- Why You’ll Love This Rice Krispie Treat Recipe
- What You’ll Need
- How to Make Rice Krispie Treats
- Watch This Rice Krispie Treat Recipe Come Together
- Tips for Success
- Frequently Asked Questions
- Substitutions & Recipe Variations
- How to Store Rice Krispie Treats
- Can I Freeze This Rice Krispie Treat Recipe?
- More Marshmallow Recipes
- Get the Recipe
Perfect Rice Krispie Treats
I’ve yet to meet a marshmallow cereal treat I didn’t like. I have snickerdoodle rice krispie treats, candy corn rice krispie treats, Halloween krispie treats, and even double marshmallow Fruity Pebbles rice krispie treats. Name an occasion, and I probably have a recipe for it.
It all started with this most perfect rice krispie treat recipe, though. While I have tons of fun variations (like peanut butter krispie treats), it always comes back to this one. And when I say it’s the best, I mean it’s the BEST. You’ll soon see why.
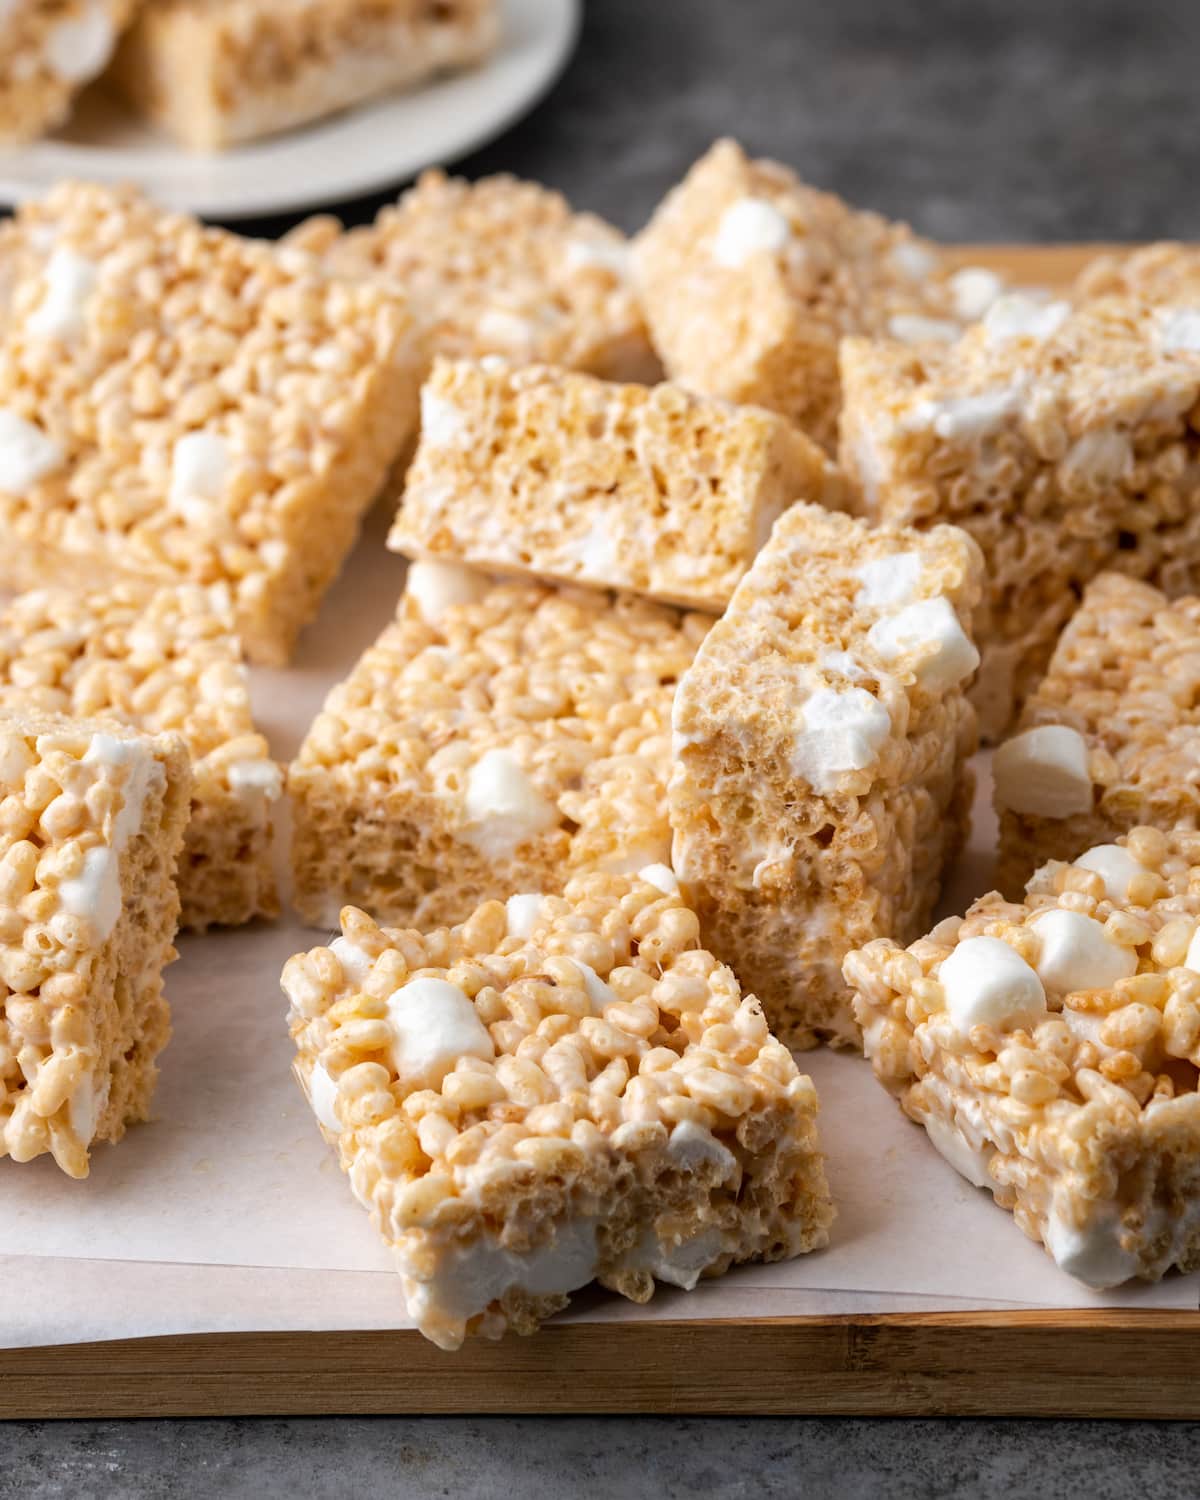
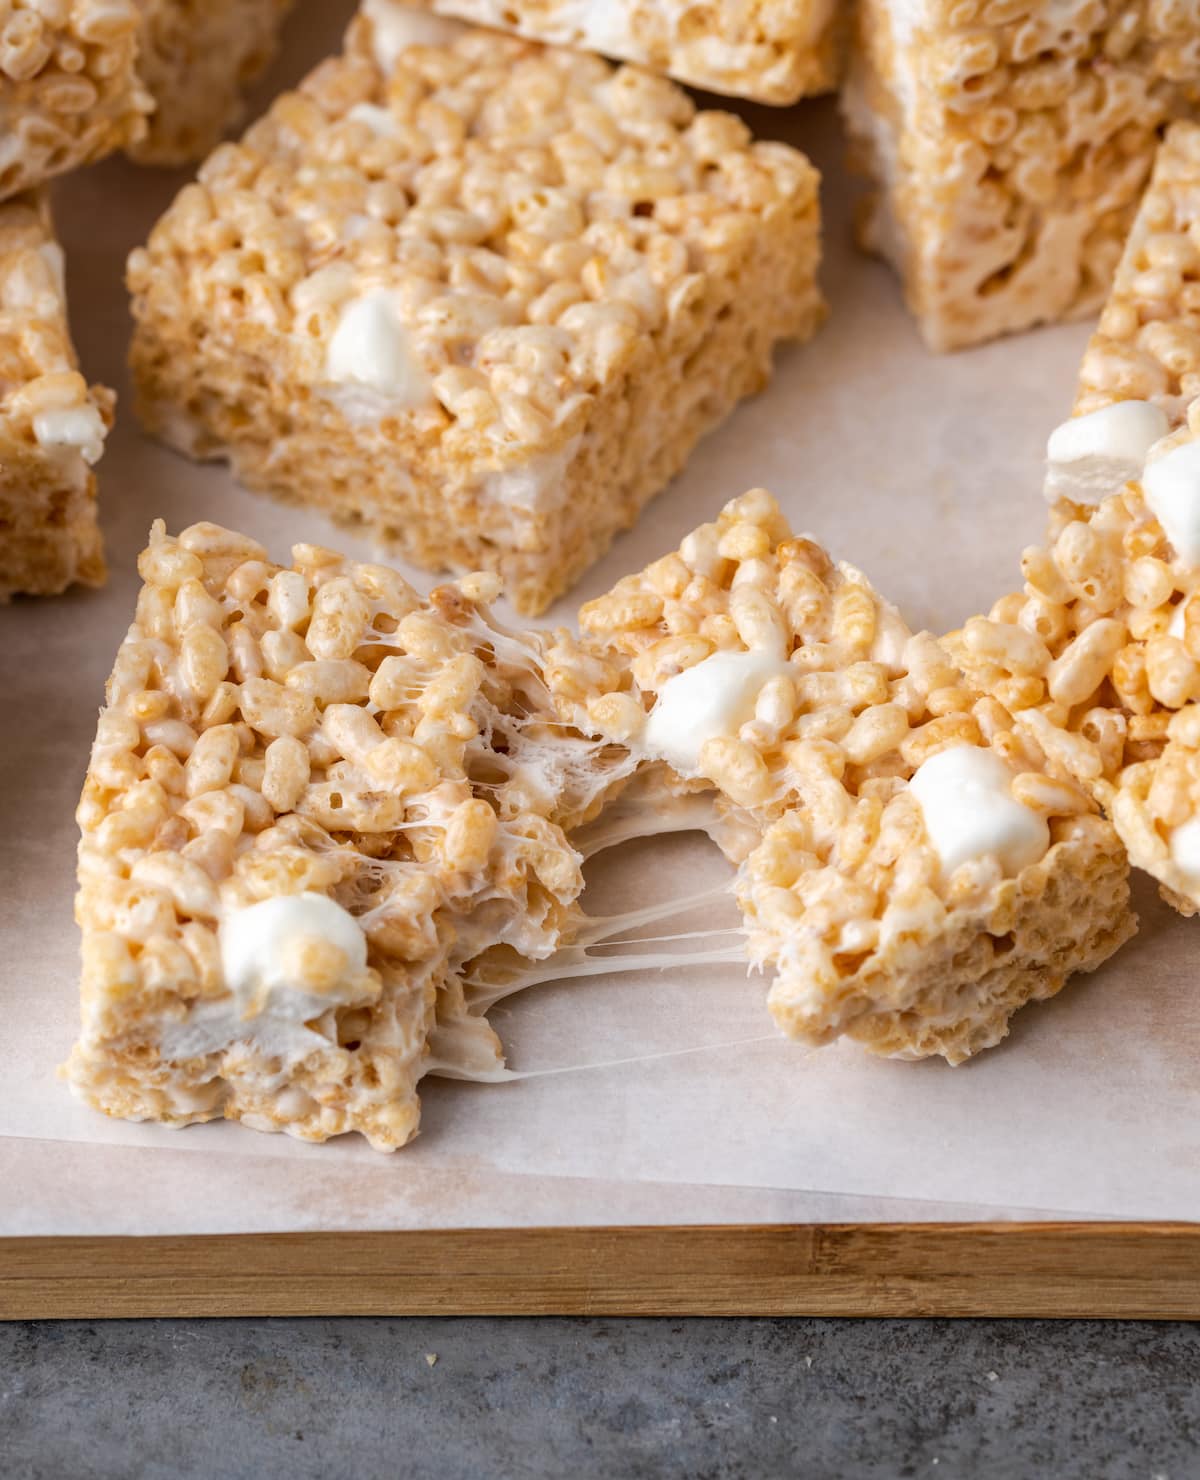
The secret is nailing the golden ratio of cereal to buttery, melty marshmallows. This no-bake recipe does exactly that – it’s chewy, sticky, soft, and crunchy all at the same time. Make these treats once, and you’ll be hooked!
Why You’ll Love This Rice Krispie Treat Recipe
Rice krispie treats aren’t just a sweet treat for the kiddos – us adults can love them, too! Here’s why you’re gonna want to get in on this goodness:
- PERFECT texture. These rice krispie treats are the perfect blend of soft, sticky marshmallows and crunchy Rice Krispies cereal. Who can resist any dessert where the star of the show is gooey marshmallow?
- Simple ingredients. You need exactly 4 ingredients to make this dessert – it doesn’t get much simpler!
- Crowd-pleaser. Kids and adults alike will devour these rice krispies. Plus, you can throw in some mix-ins like chocolate chips to customize the recipe according to what your family likes!
What You’ll Need
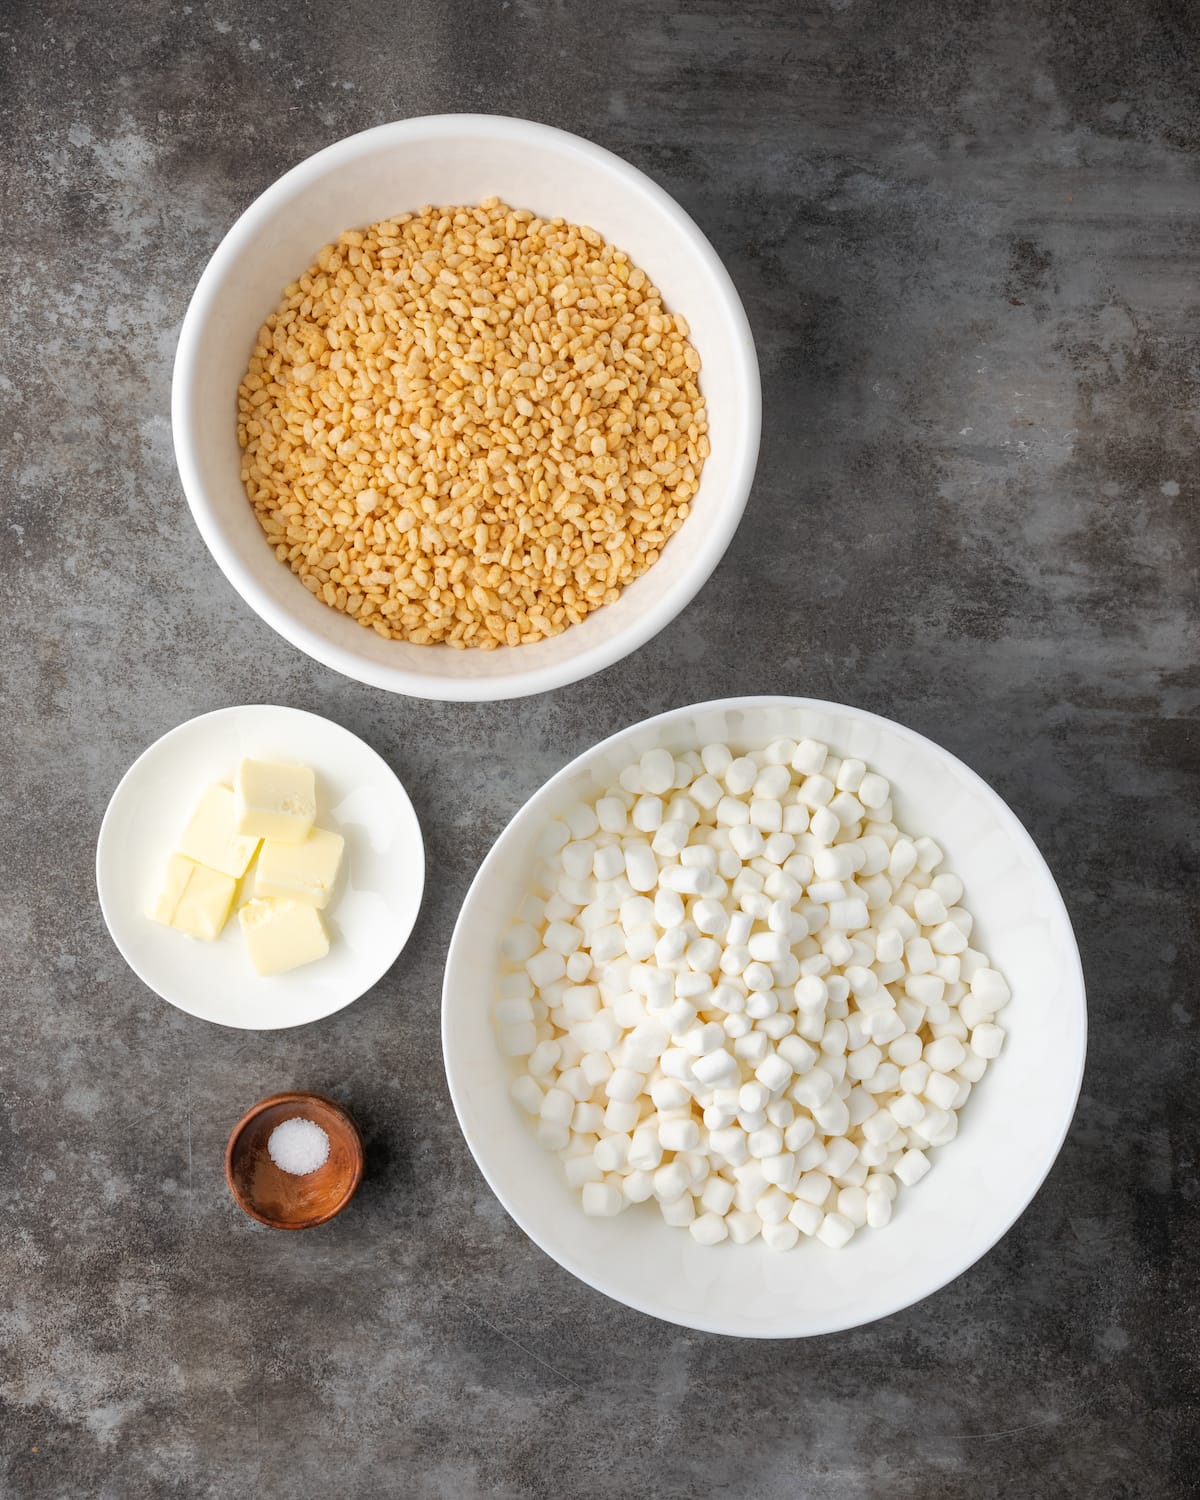
So, the ingredients for krispie treats are pretty basic and universal. It’s all about the proportions! Here’s an overview, with the exact amounts and full details available in the recipe card below:
- Butter: I use salted butter, though unsalted butter also works.
- Marshmallows: One thing I’ve learned in my many moons of krispie treat making, is that mini marshmallows melt quicker! Also, there’s some serious magic in tossing in extra mini marshmallows at the end, for delightful little mallow pockets throughout. Of course, you can absolutely use large-sized marshmallows. I recommend chopping them up, though.
- Crispy Rice Cereal: I like to use Rice Krispies Cereal, or any variation thereof. Use a generic brand or the real deal, it’s really the baker’s choice.
- Kosher Salt: Just a pinch, added when melting the marshmallows.
Can I Use Puffed Rice Instead of Rice Krispies?
Yes, you can. Bearing in mind that the texture and taste will be slightly different, the recipe will still work. Puffed rice is a great option for those with dietary restrictions.
How to Make Rice Krispie Treats
Perfecting this rice krispie treat recipe might not solve all the world’s problems, but it’s a start. If you’ve ever had a krispie treat that was too hard, too soft, or too soggy, this recipe is officially putting an end to that! It comes down to a bit of no-bake science:
- Prepare the baking pan. I recommend lining a square baking pan with foil for easy removal. Lightly grease the foil with some cooking spray, then get started on the marshmallow mixture.
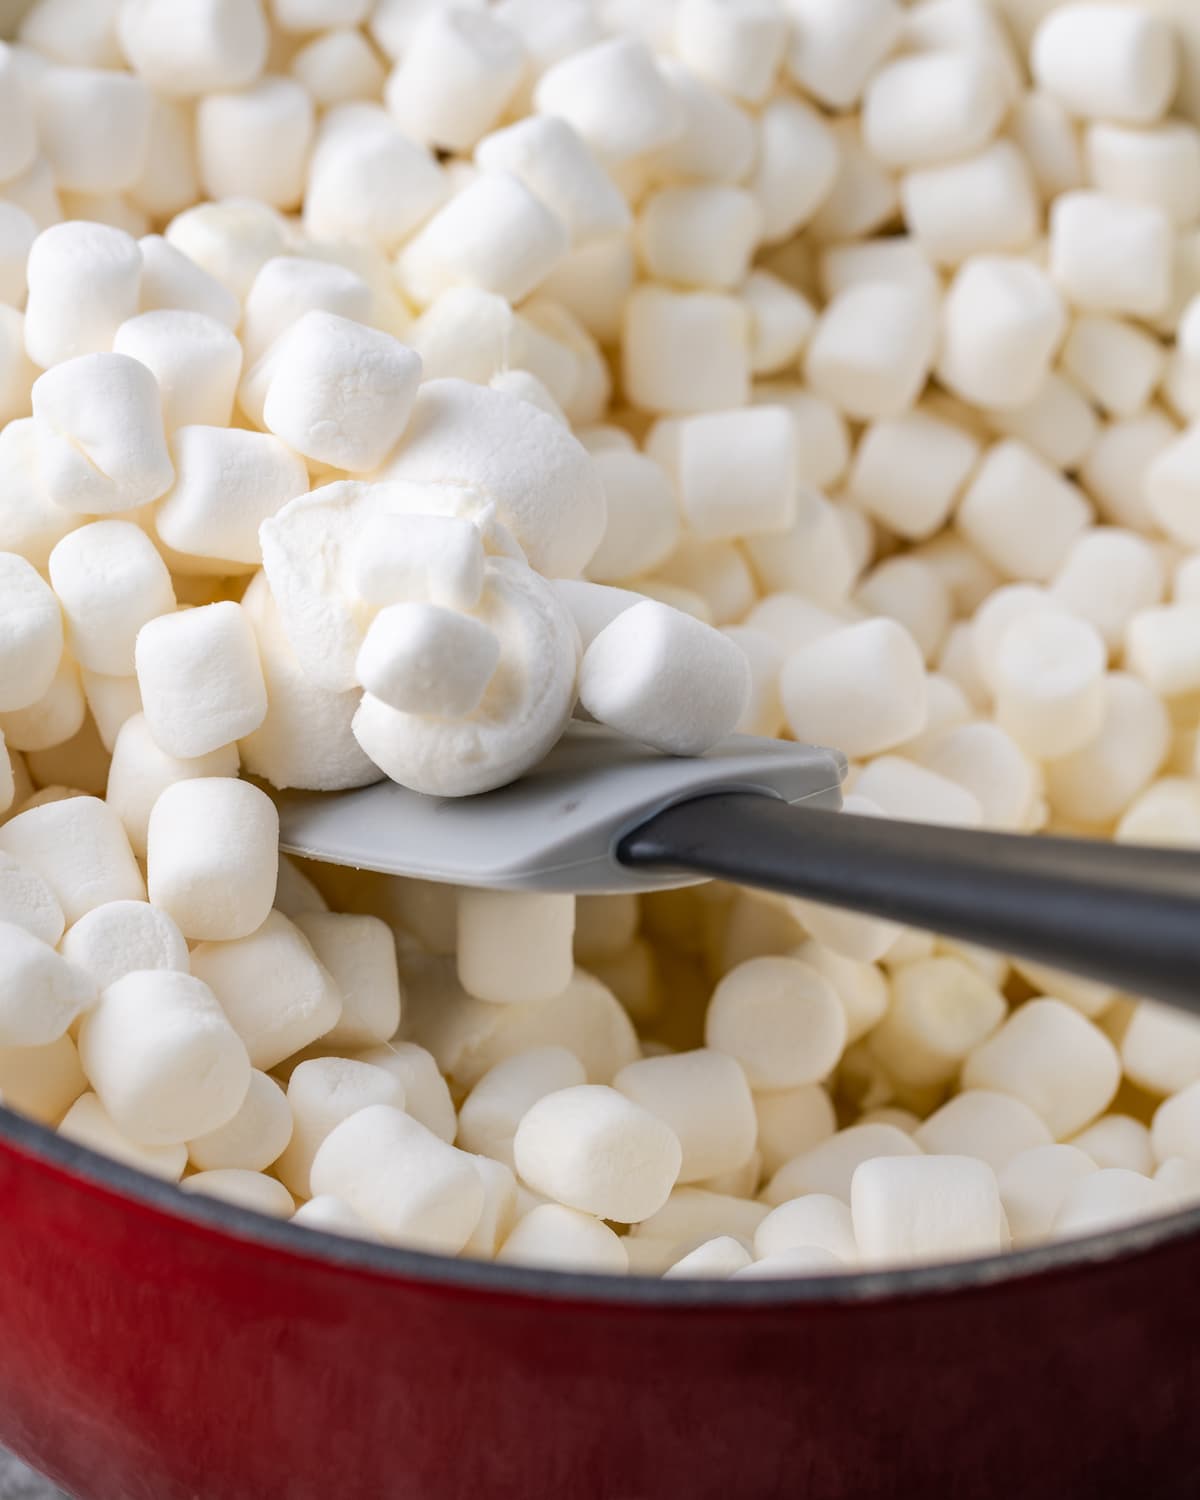
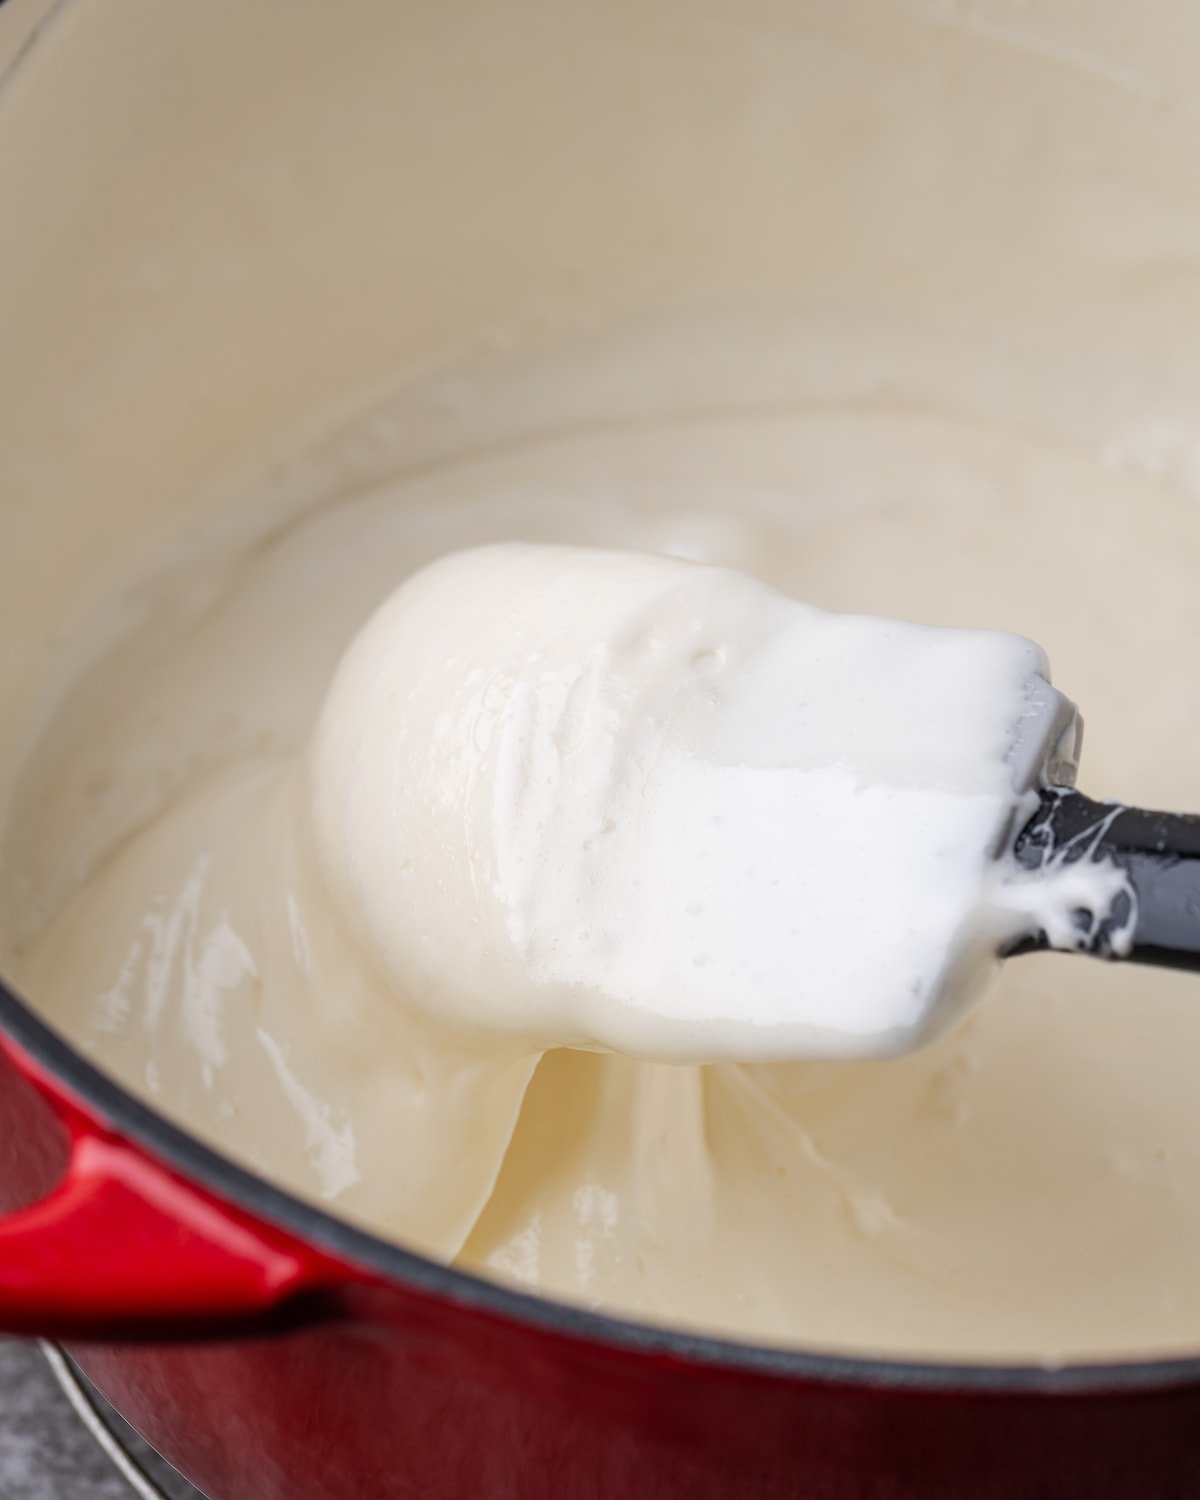
- Melt the butter and marshmallows. In a large pot, melt down the butter along with the mini marshmallows. Make sure to continuously stir the marshmallows as they melt, to keep them from burning.
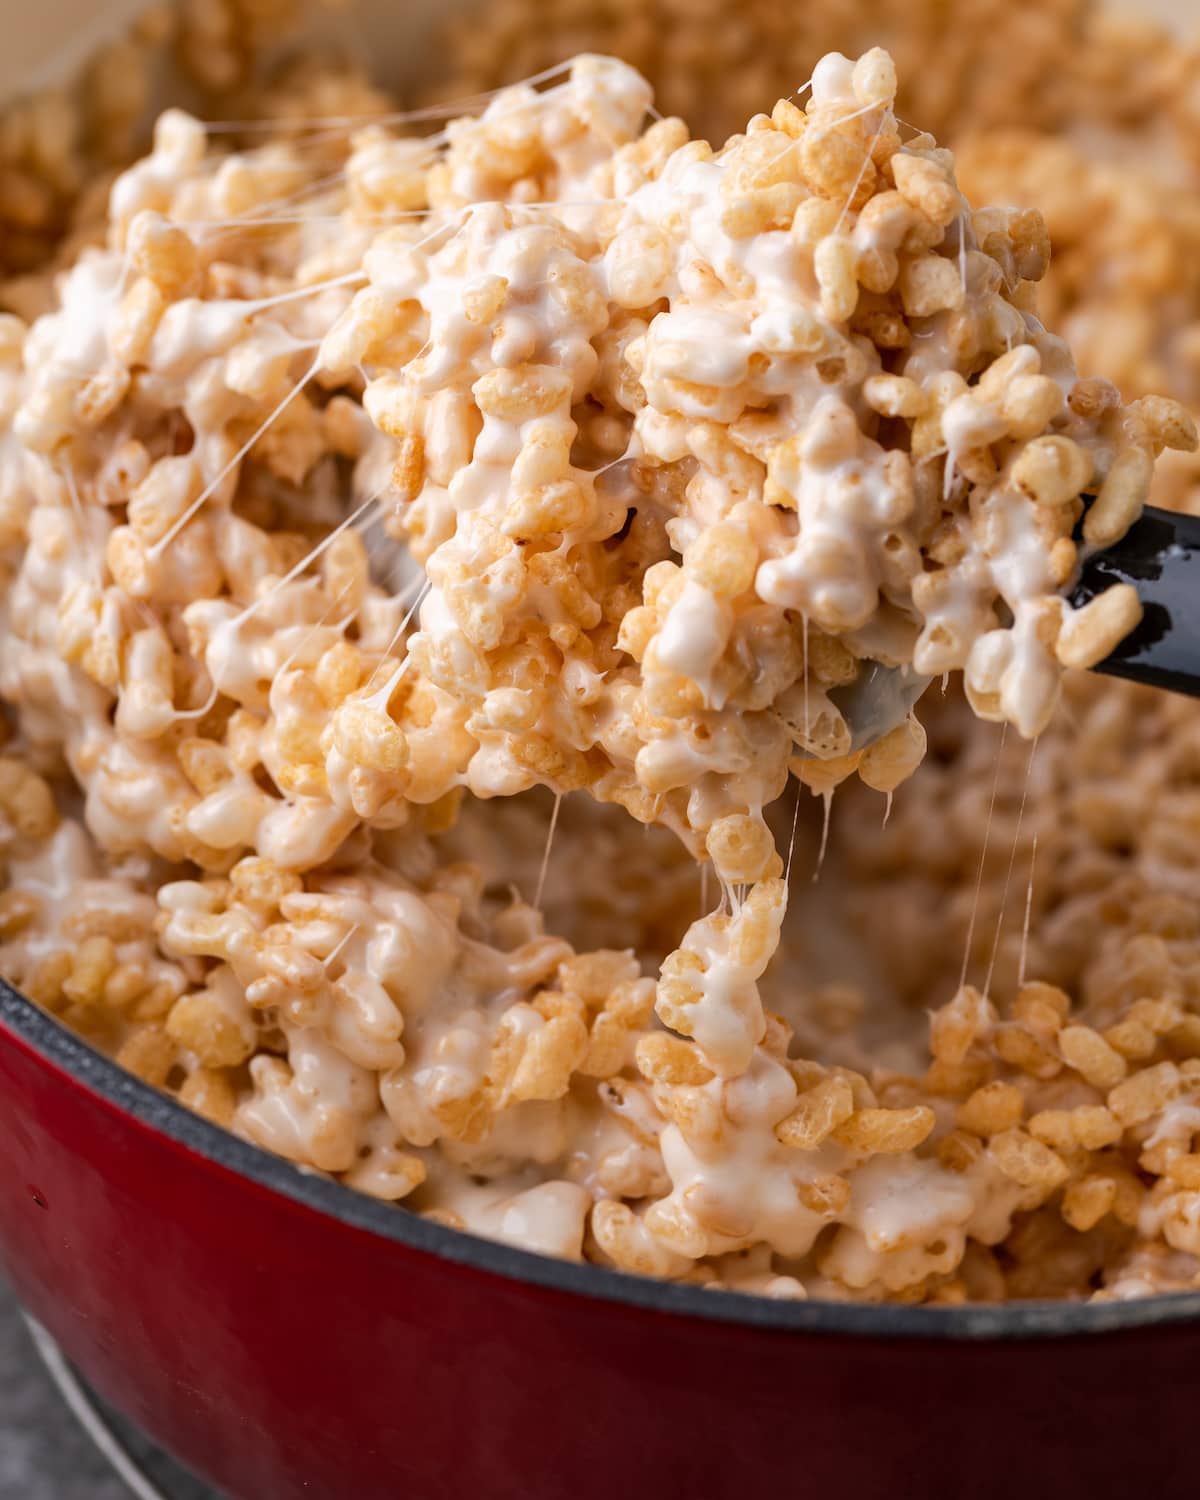
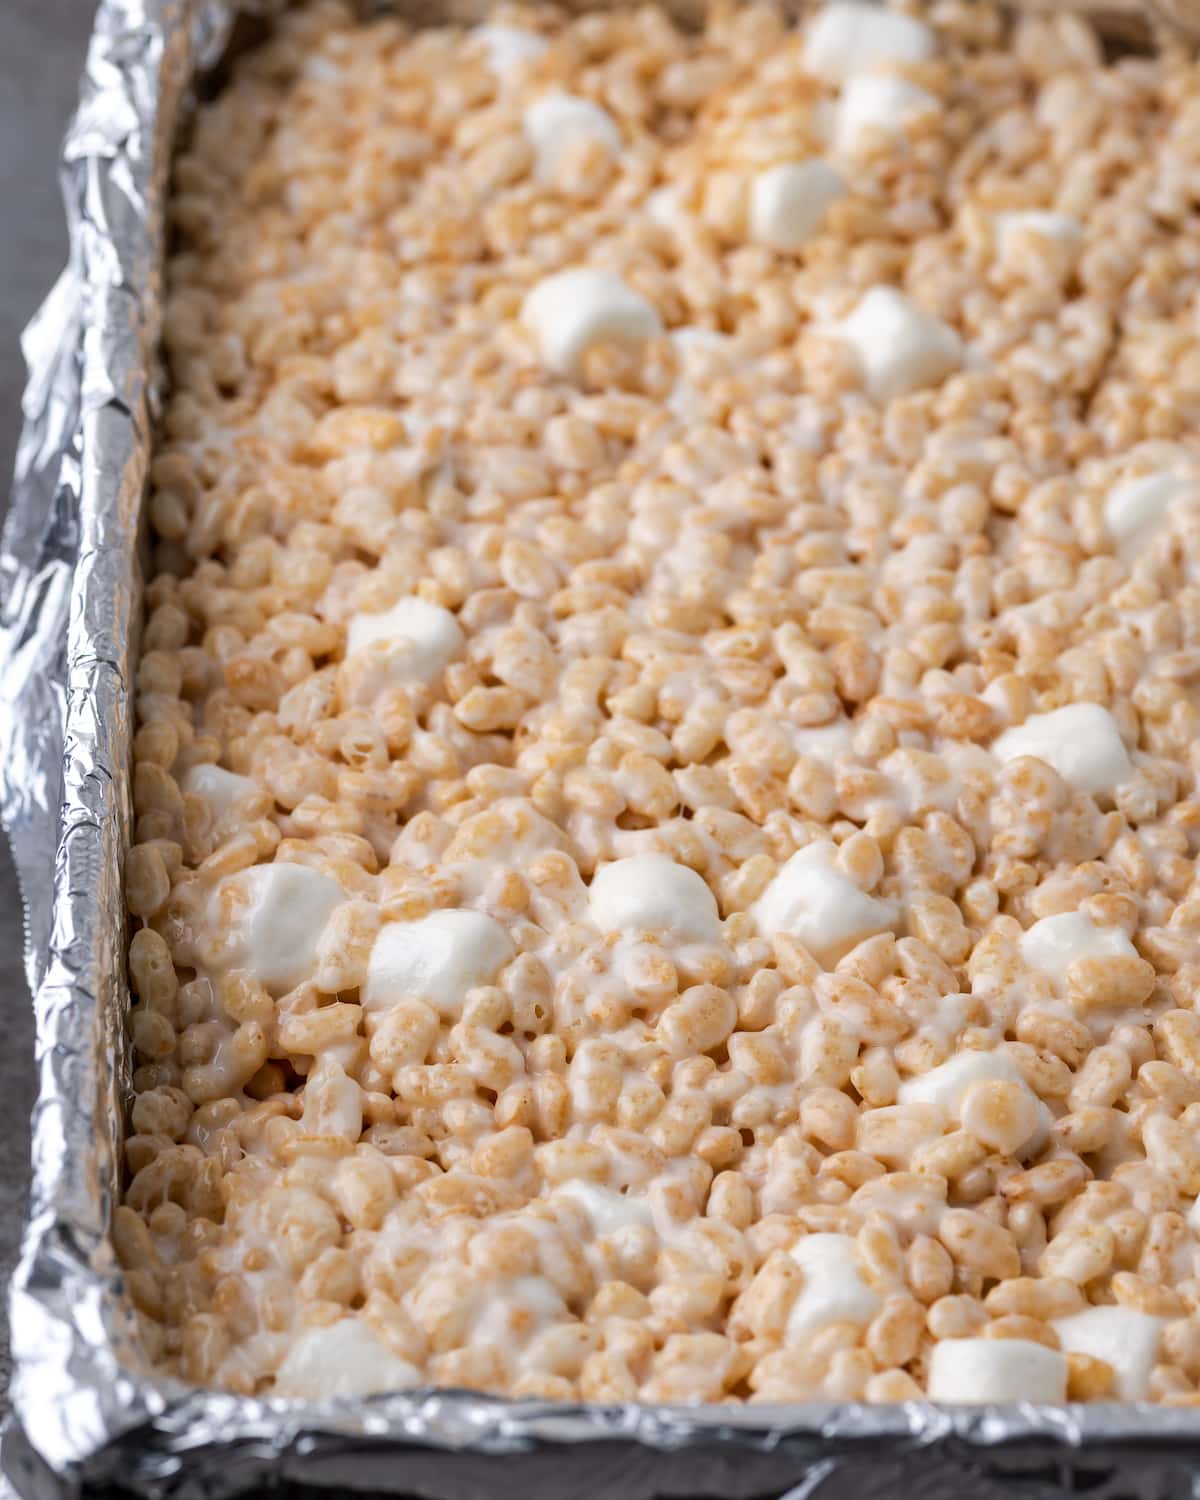
- Combine the marshmallow mixture with the cereal. Once melted, take the marshmallows off the heat. Gently fold in the crispy rice cereal. Toss in a pinch of salt. Lastly – and this is the best part – stir in an extra 2 cups of mini marshmallows until they’re evenly distributed throughout. Scrape the rice krispie treat mixture into your lined pan. Carefully press it into an even layer, then leave it to set.
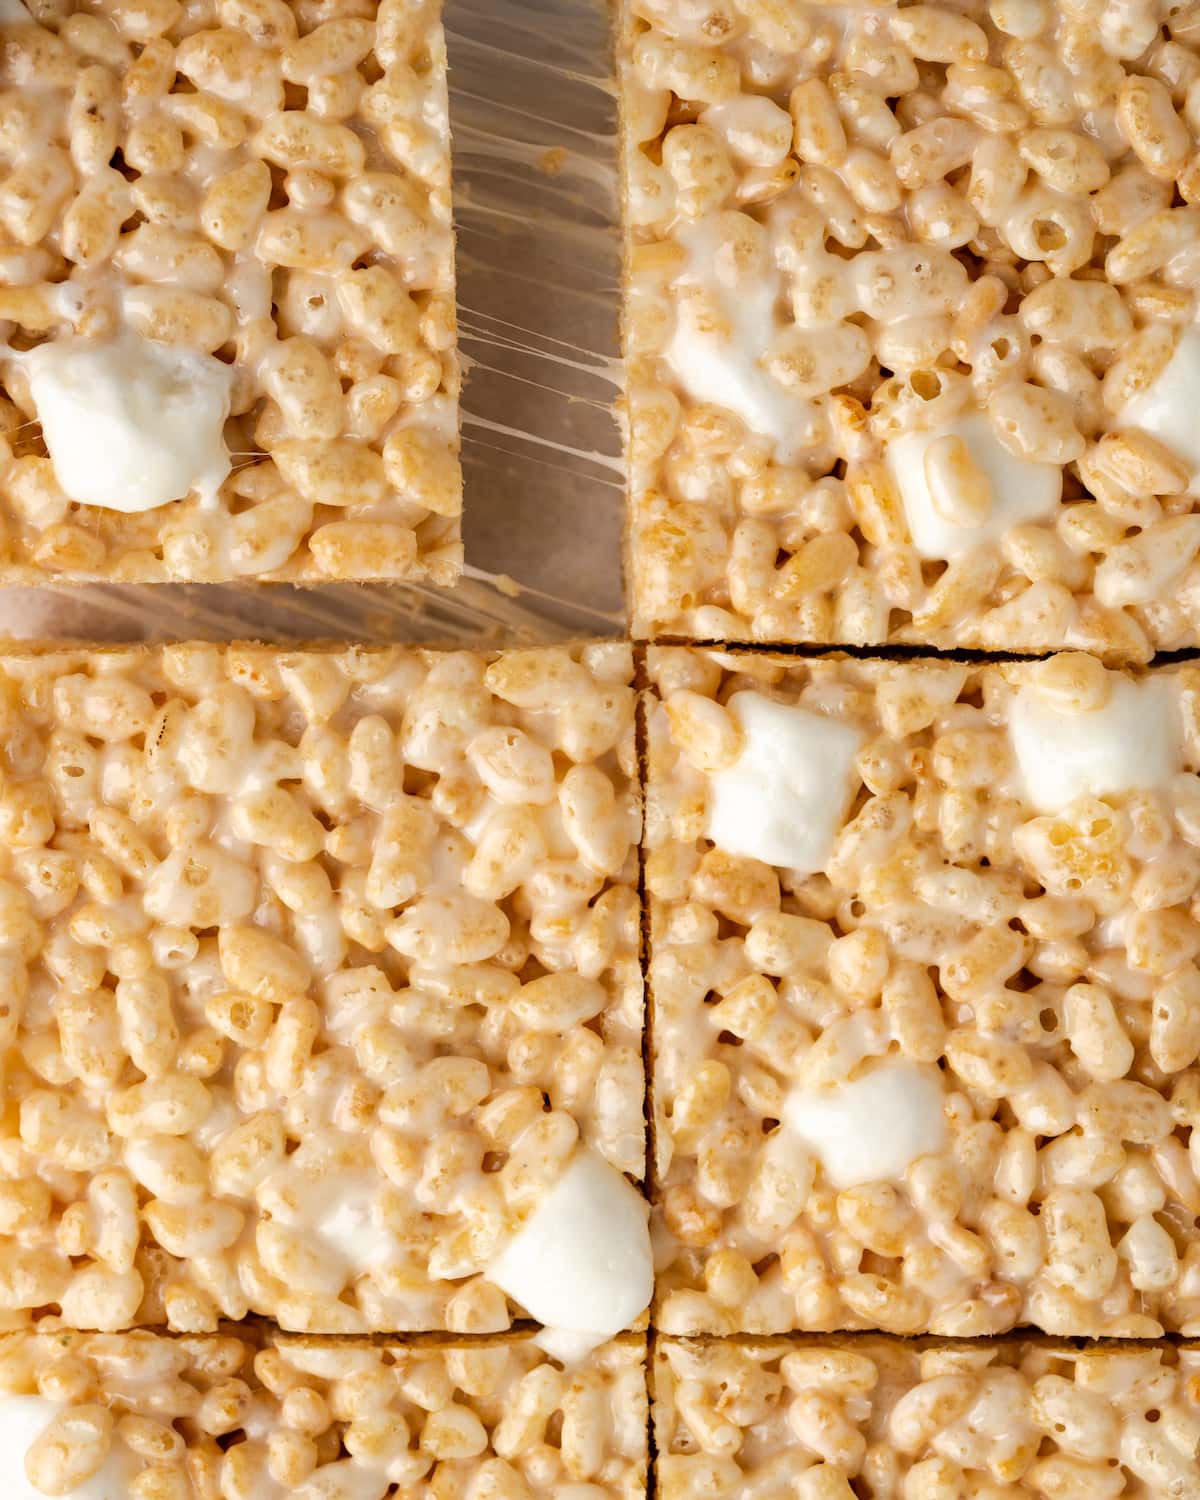
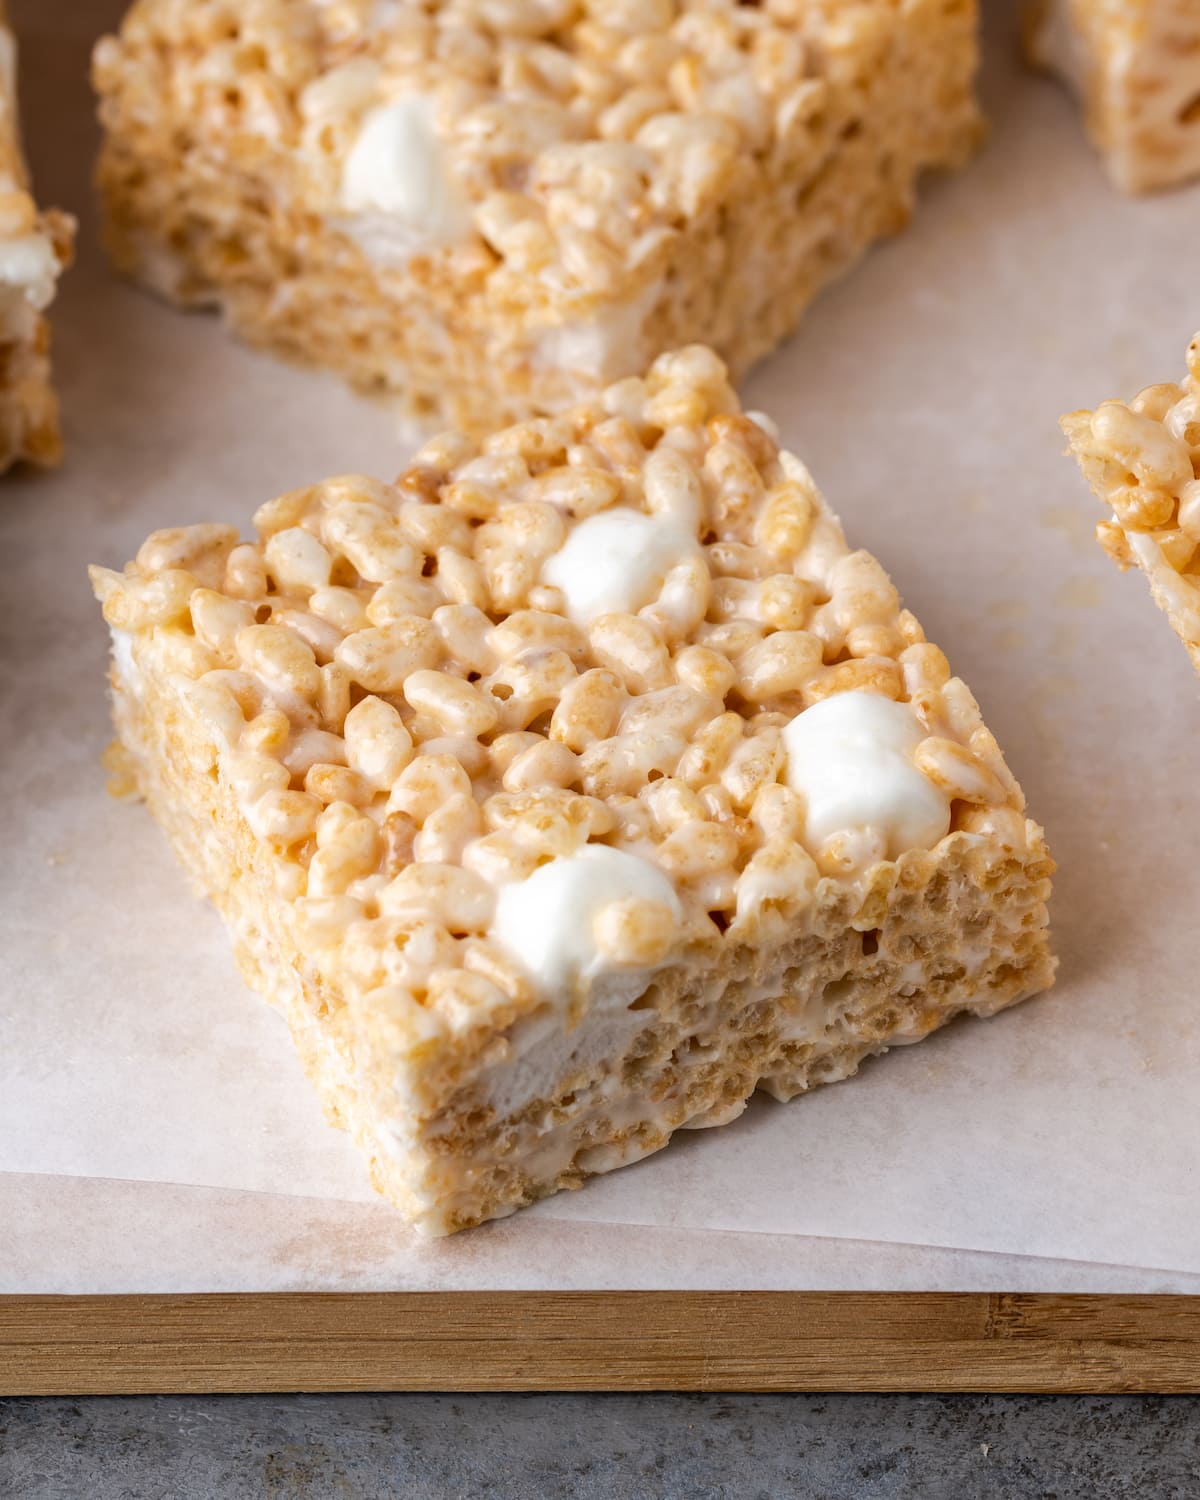
- Serve and enjoy! Once your rice krispie treats are cool, cut them into squares and sink your teeth into a bite of soft, chewy perfection.
Watch This Rice Krispie Treat Recipe Come Together
This rice krispie treats recipe requires just a few basic steps! Watch the magic happen below:
Tips for Success
There are a few key tips to making these rice krispie treats actually perfect:
- If you’re using large marshmallows, adjust the amount added. I happen to have a handy Marshmallow Conversions Chart to help correctly measure different sizes.
- Don’t over-stir. Add the crispy rice cereal to the marshmallows, and then gently fold to combine. Over-stirring will crush the cereal and break those perfect little air pockets.
- Don’t over-pack. Be mindful not to press the mixture too hard into the pan. We’re going for gooey and light rice krispie treats, friends, not dense and compact!
- Rinse your hands to keep them from sticking to the rice krispie treats. If you rinse your hands and then shake off the excess water, you can press the rice krispie treats into the pan without having to deal with stickiness.
Frequently Asked Questions
Overcooked marshmallows = hard krispie treats! Remove the marshmallows from the heat as soon as they’re just melted. Like most candy, the longer you cook the sugar the harder the marshmallows get.
I recommend using the freshest marshmallows possible. Old marshmallows dry out and don’t melt very well, so make sure to use a fresh bag if you can.
You want the krispie treats to be completely cool before you cut into them. This generally takes 1-2 hours – make sure to let them cool at room temperature.
Substitutions & Recipe Variations
This is where you can get creative if you’re looking to switch up a classic dessert! Here are some of my favorite rice krispie treats variations:
- Peanut Butter Rice Krispie Treats: Satisfy a peanut butter craving with peanut butter cup krispie treats (linked above) or Butterfinger krispie treats.
- Chopped Candy: Use 1 cup of chopped candy to stir in with the extra marshmallows! Note that if you add chocolate candy (like in my malted milk ball krispie treats), the chocolate may melt a little. It’s still delicious, though!
- Cookie Dough: For a fun twist, try cookie dough krispie treats topped with edible chocolate chip cookie dough.
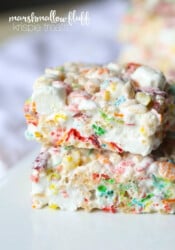
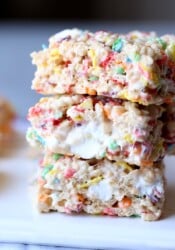
- Different Cereal: You can use pretty much any cereal in place of Rice Krispies to make these no-bake dessert bars. Try Froot Loops, Cocoa Krispies, Cinnamon Toast Crunch, or Fruity Pebble krispie treats (also linked above). So many possibilities!
- Vanilla Extract: A teaspoon of vanilla in the melted marshmallows adds a little something extra.
- Cinnamon and Browned Butter: Brown the butter first, and stir a little cinnamon into the melted marshmallows, as I do in my snickerdoodle rice krispie treats recipe (also linked above).
- Planning a Party? Turn these into krispie treat party bites!
How to Store Rice Krispie Treats
These homemade treats are at their best the day they’re made! However, these can be enjoyed for up to 2-3 days if stored properly. Here are some helpful storage notes:
- Store rice krispie treats at room temperature. Keep them in a container or bag that seals airtight. This will keep them at their freshest!
- Never store krispie treats in the fridge. This turns them to stone. Kidding. But they do get very, very hard and dry.
- When making krispie treats ahead, don’t cut them into bars right away. Cover the pan tightly with plastic wrap, making sure it’s 100% airtight. Then, cut the treats into squares on the day you’re serving them.
Can I Freeze This Rice Krispie Treat Recipe?
While I don’t usually recommend it, if you’re desperate, you can store rice krispie treats in the freezer. Wrap them up tightly in plastic wrap, or seal them in freezer bags or in an airtight container to store. Thaw the treats at room temperature before serving.
More Marshmallow Recipes
If you’re a marshmallow lover like me, you’re not going to want to miss out on these other easy dessert ideas!
- Fluffy Homemade Marshmallows Recipe
- Creamy Marshmallow Chocolate Pie
- Marshmallow Brownies
- Marshmallow Fluff Krispie Treats
- Cookies and Cream Marshmallow Bars
Perfect Rice Krispie Treat Recipe
- Prep Time: 15 minutes
- Total Time: 15 minutes
- Yield: 16 1x
- Category: Krispie Treats
- Method: No Bake
- Cuisine: Dessert
Description
The Perfect Rice Krispie Treats Recipe is loaded with just the right amount of Rice Krispies cereal and gooey, melty marshmallows, for perfect, bakery-style crispy treats!
Ingredients
- 5 tablespoons butter
- 8 cups, plus 2 cups mini marshmallows
- 6 cups Krispie Cereal
- 1/2 teaspoon kosher salt (optional)
Instructions
- Line a 9×9 pan with foil and spray lightly with cooking spray, set aside.
- In a large pot over low heat melt butter. Once butter s melted add in 8 cups of mini marshmallows, stirring constantly.
- Once the marshmallows are just melted remove from heat and stir in your cereal and salt until just coated in the marshmallow mixture. Now stir in the remaining 2 cups of mini marshmallows.
- Pour mixture into prepared pan and press in evenly.
- Allow to cool completely before cutting into squares.
Notes
- To store. You can store your rice krispie treats airtight at room temperature for up to 3 days, but I always prefer krispie treats the same day they were made!
- To freeze. While I don’t usually recommend it, if you’re desperate, you can store rice krispie treats in the freezer. Wrap them up tightly in plastic wrap, or seal them in freezer bags or in an airtight container to store. Thaw the treats at room temperature before serving.
Nutrition
- Serving Size: 1 bar
- Calories: 156
- Sugar: 16.4 g
- Sodium: 193.8 mg
- Fat: 3.7 g
- Carbohydrates: 30.3 g
- Protein: 1.2 g
- Cholesterol: 9.5 mg

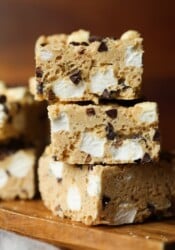
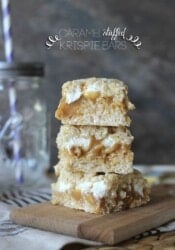





My son wanted to make Krispie treats that were “extra marshmallowy” and these definitely meet that standard! These are very delicious and definitely very “marshmallowy”!! I love adding some marshmallows at the end too! Thank you!