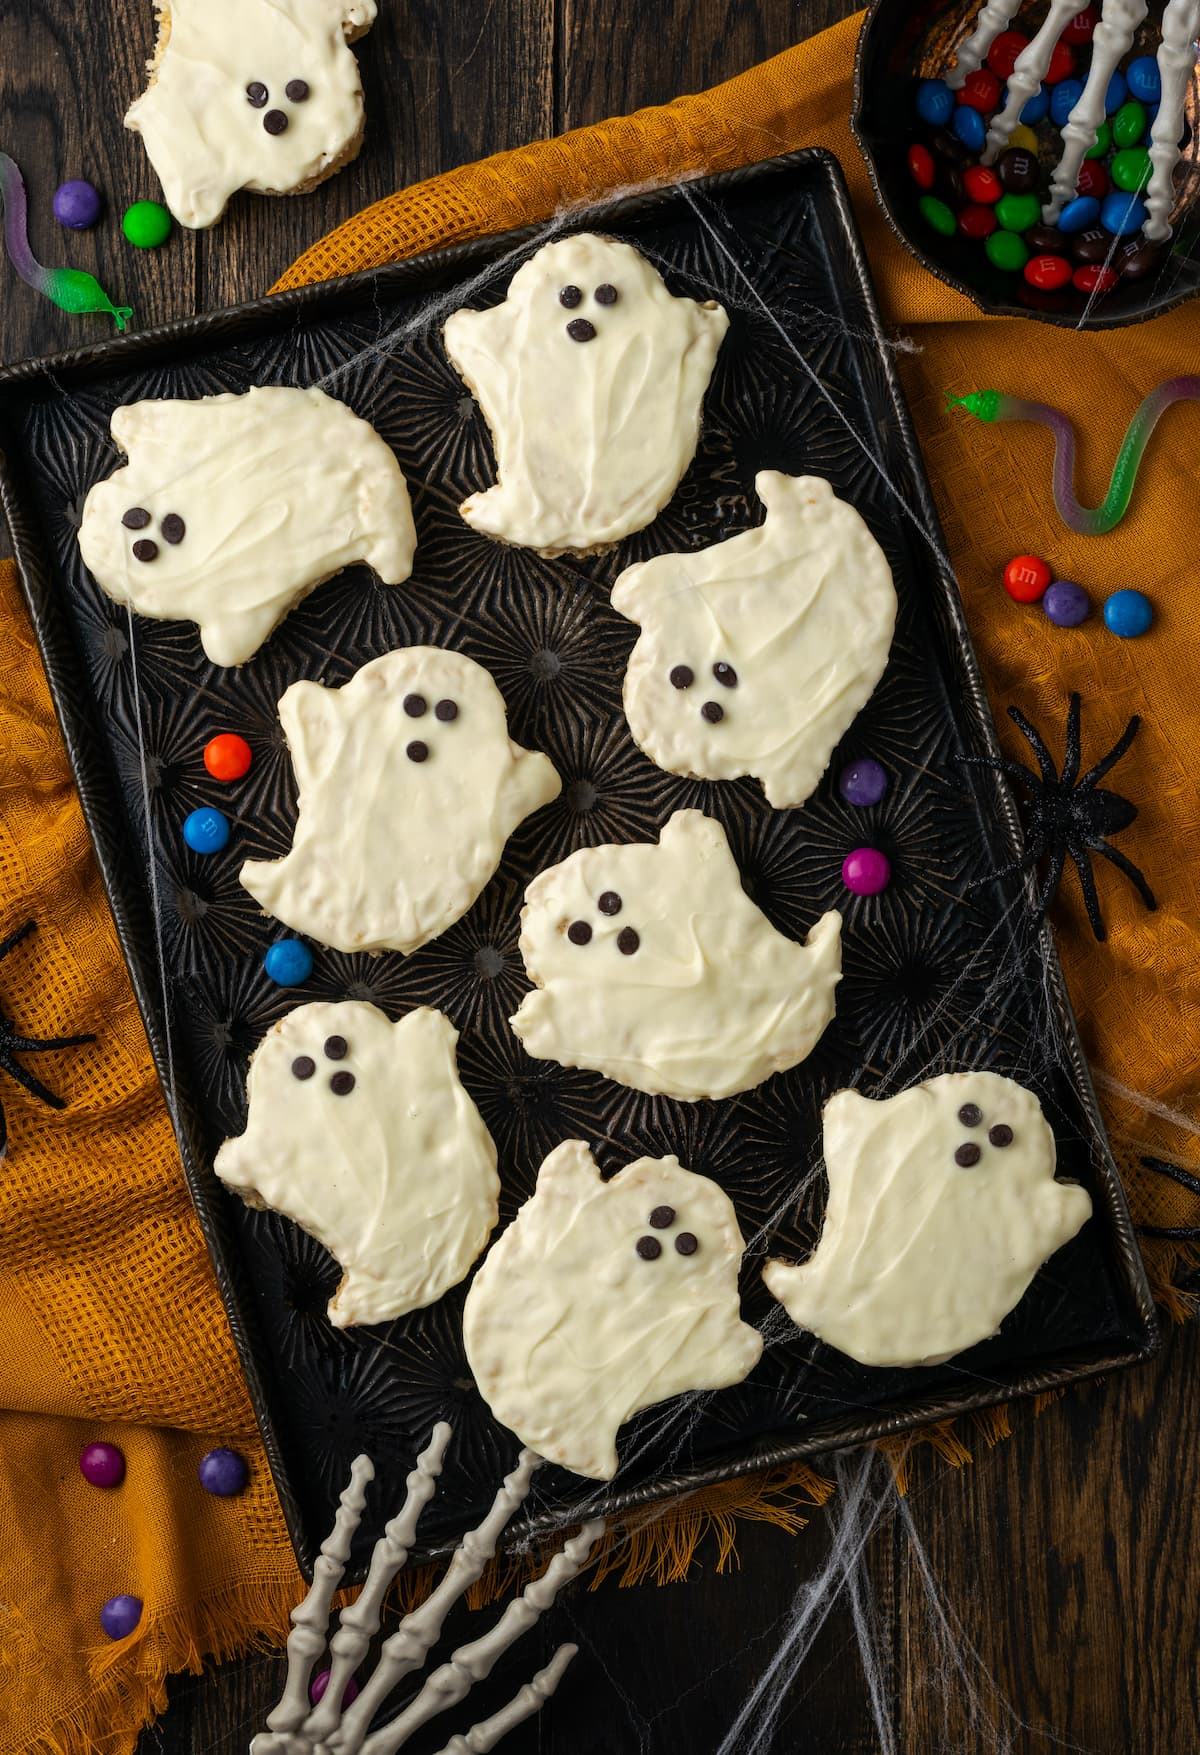
My Halloween Krispie Treats are easy to make, and dipped in white chocolate to look like ghosts! These ooey-gooey homemade Rice Krispie treats are guaranteed to be a hit this spooky season.
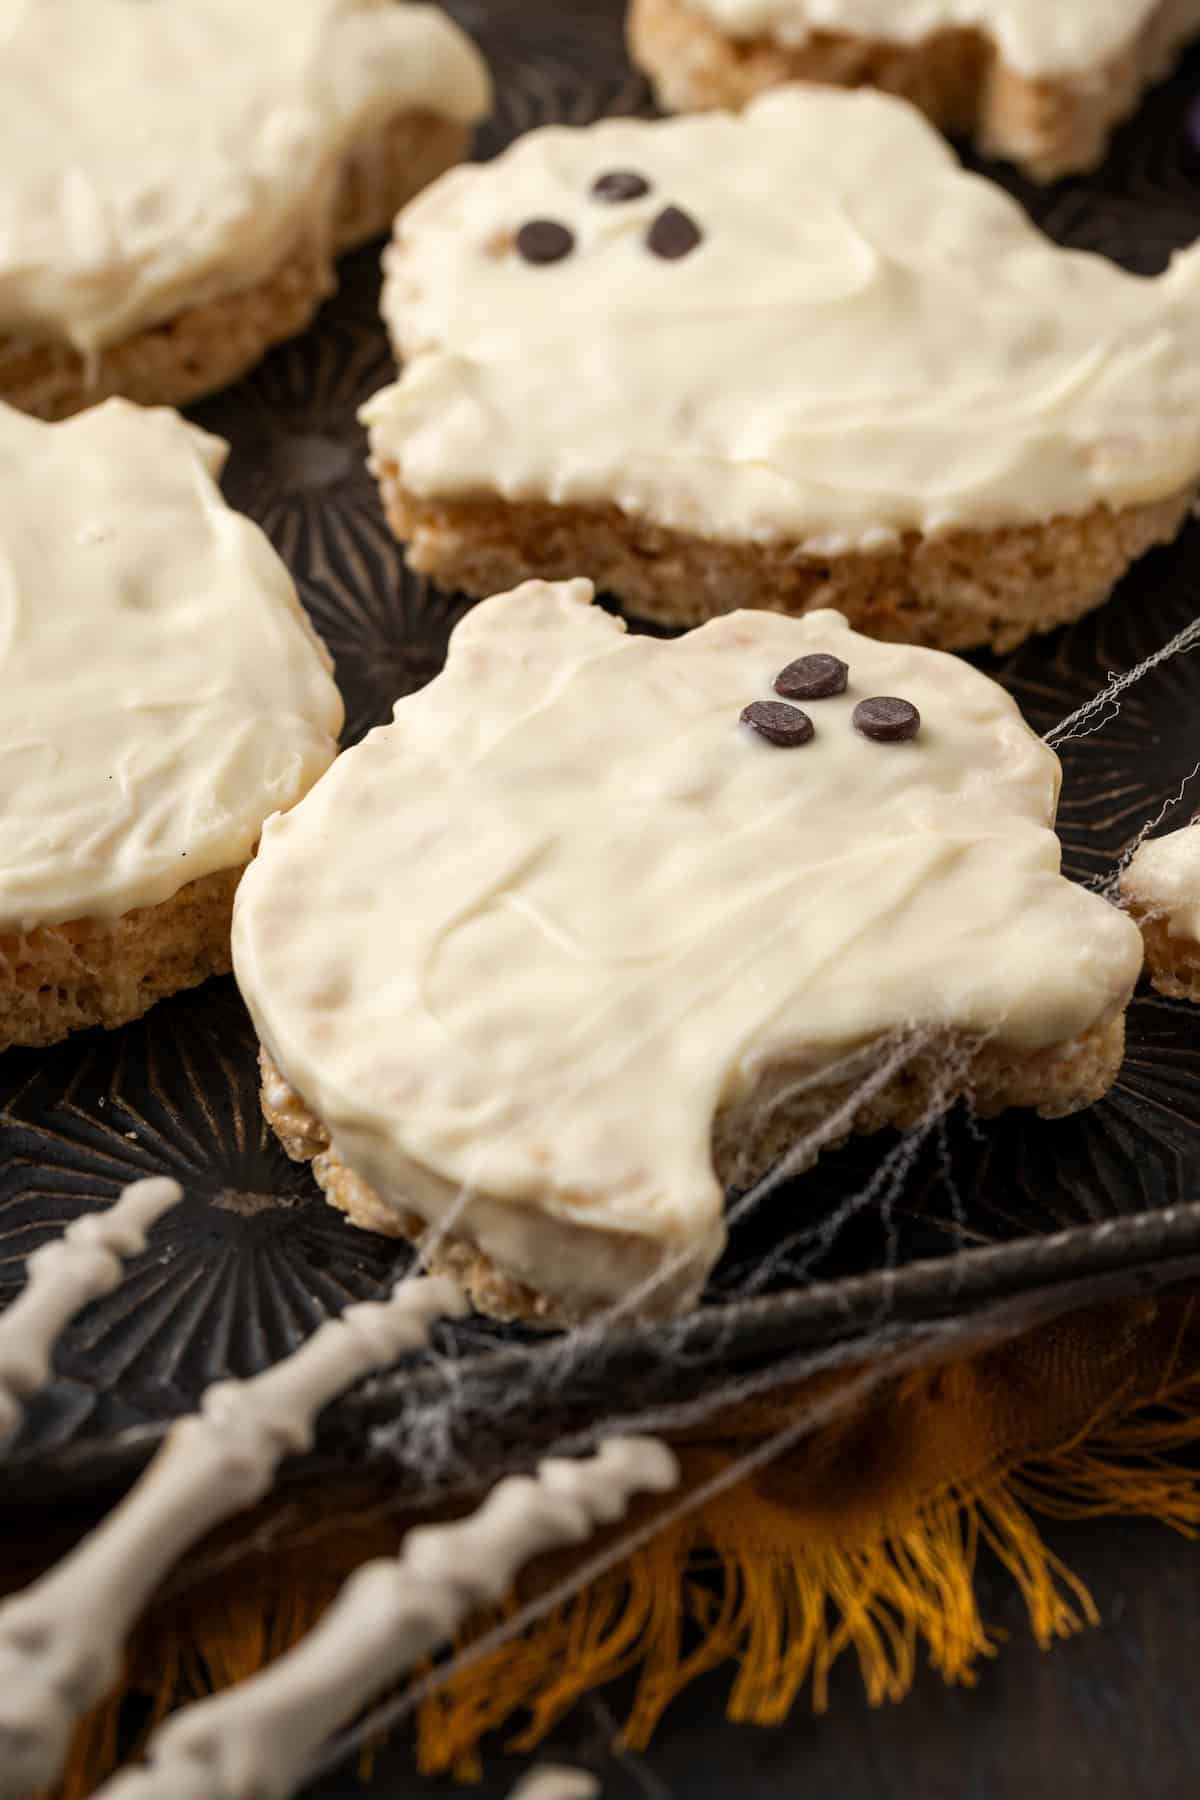
Table of Contents
- Ghostly Halloween Rice Krispie Treats
- Why You’ll Love This Halloween Krispie Treats Recipe
- What You’ll Need
- How to Make Halloween Krispie Treats
- Can I Make Halloween Rice Krispie Treats Ahead?
- Tips for Success
- Easy Variation Ideas
- How to Store Halloween Krispie Treats
- Get the Recipe
- More Halloween Treats to Try
Ghostly Halloween Rice Krispie Treats
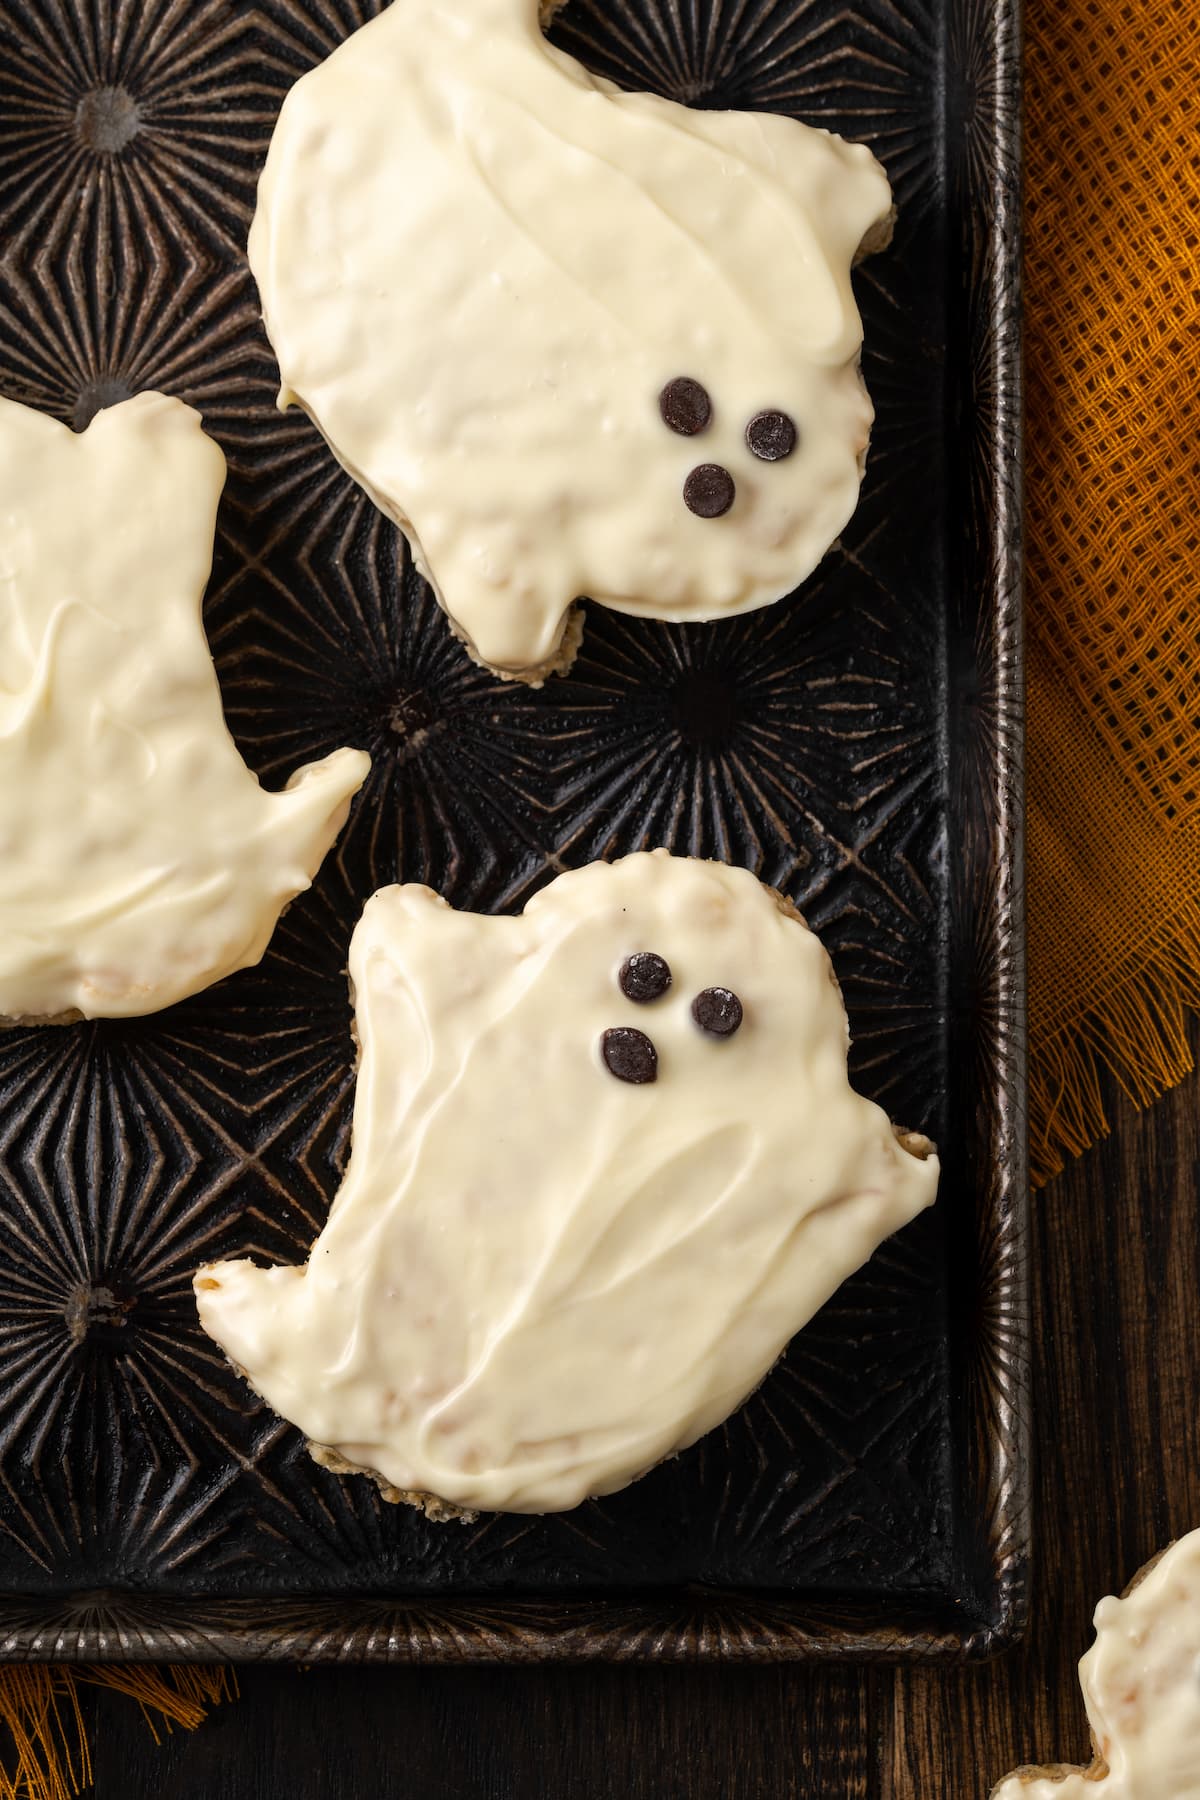
Between last-minute pumpkin picking, erecting scarecrows outside my house, and stockpiling candy for the trick-or-treaters, I’m retiring from Halloween. Or so I thought… until I was reminded that tomorrow is the Halloween party at my son’s school. Cue: Halloween Krispie treats! I love Rice Krispie treats and this recipe for spooky Krispie treat ghosts is always a hit. They’re melty, gooey, chewy Rice Krispie treats cut out in a ghostly shape and dipped in white chocolate. Boo-yah!
Why You’ll Love This Halloween Krispie Treats Recipe
- Easy to make. If you grew up making and eating Rice Krispie treats, you know just how simple they are and how delicious they taste! These Halloween Rice Krispie treat ghosts are quick, easy, and fun to make.
- Chewy and gooey. These treats are soft, chewy, full of ooey-gooey marshmallows and crispy crunch, and smothered in chocolate. Halloween food doesn’t get much better.
- Fun Halloween shapes. I use a ghost-shaped cookie cutter to cut out my treats, but you can use any shape you’d like! See further down for more ideas.
- Party friendly. These homemade Halloween Krispie treats are allergy-friendly (good for Halloween parties) and no-bake (good for mom). There are no peanuts or eggs in this recipe, and you can easily swap out regular butter for a dairy-free alternative.
What You’ll Need
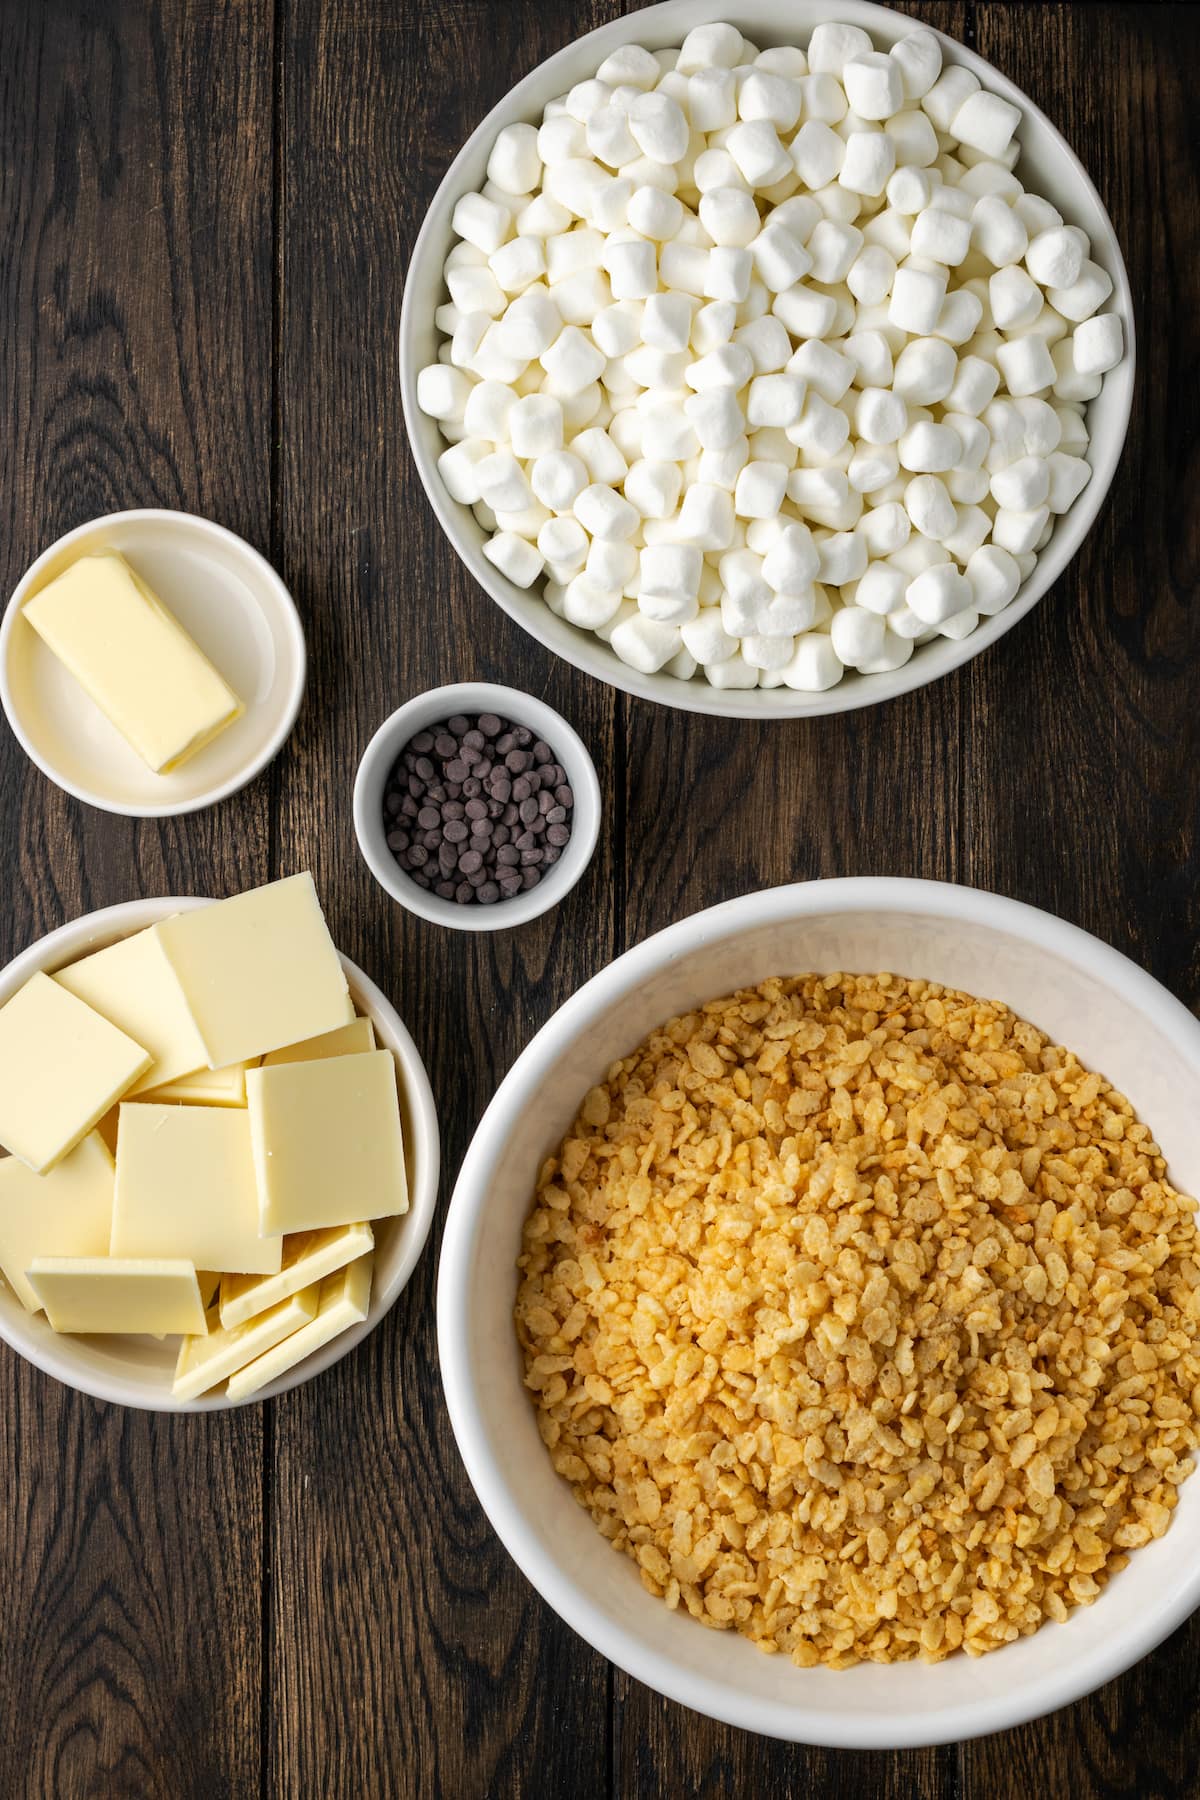
The ingredients list for these Halloween Krispie treats is short and sweet. Refer to the recipe card below the post for the full ingredient amounts and recipe directions.
- Butter: I like to make my Rice Krispie treats with the salted butter from Challenge Dairy. It adds just the right amount of saltiness to balance the sweet, sticky marshmallows.
- Rice Krispies: You can use branded Rice Krispies or another brand of crispy rice cereal. Just make sure that you’re using crispy rice and not puffed rice cereal (see below).
- Marshmallows: Mini marshmallows melt down a bit faster and smoother than large marshmallows. If you use regular-size marshmallows, cut them up into smaller pieces first.
- White Chocolate: You can use white chocolate that comes in bars, white chocolate chips, or white candy melts (the kind that looks like discs). You’ll melt the chocolate to dip your “ghosts”.
- Mini Chocolate Chips: You’ll use mini chocolate chips to create your ghost faces! Of course, you can decorate these Halloween treats any way that you’d like, depending on the shapes you make. Don’t forget to scroll for more ideas!
Is Puffed Rice the Same as Rice Krispies?
Puffed rice and crispy rice are not the same thing. Rice puffs are heated until they “puff”, sort of like popcorn. They don’t have the same crispy texture as Rice Krispies, which are toasted or baked to create that signature “snap, crackle, pop” that we all know and love. If you’re not using branded Rice Krispies, make sure that you’re buying the right alternative.
How to Make Halloween Krispie Treats
Fasten your sheet belts, folks! Let’s make some spooky Halloween Rice Krispie treat ghosts:
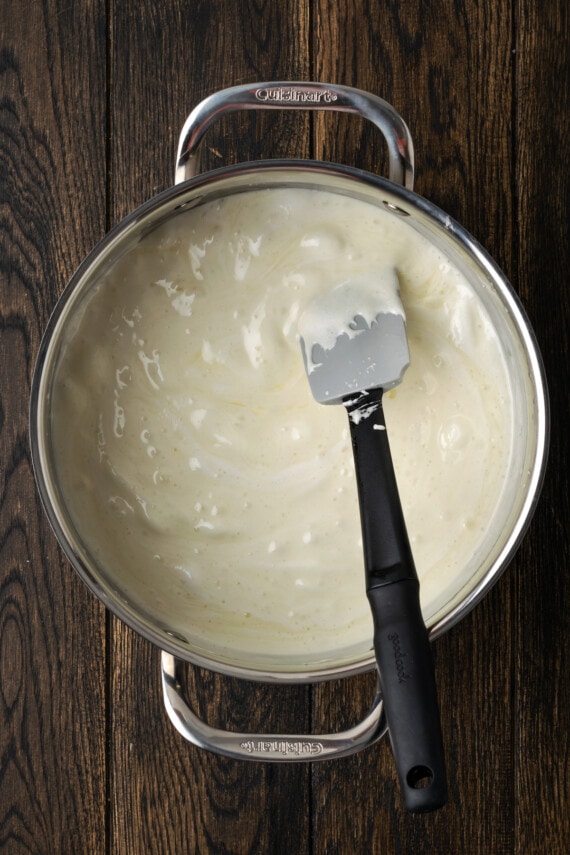
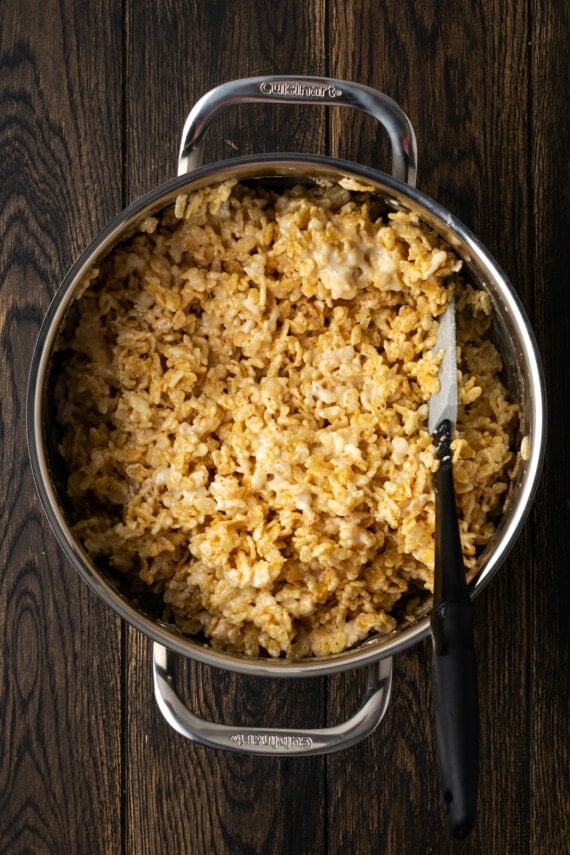
- Make the marshmallow mixture. Heat some butter in a large saucepan. Once melted, add the marshmallows, stirring while they melt. Finally, take the pot off the heat and stir in the rice crispy cereal until everything’s combined.
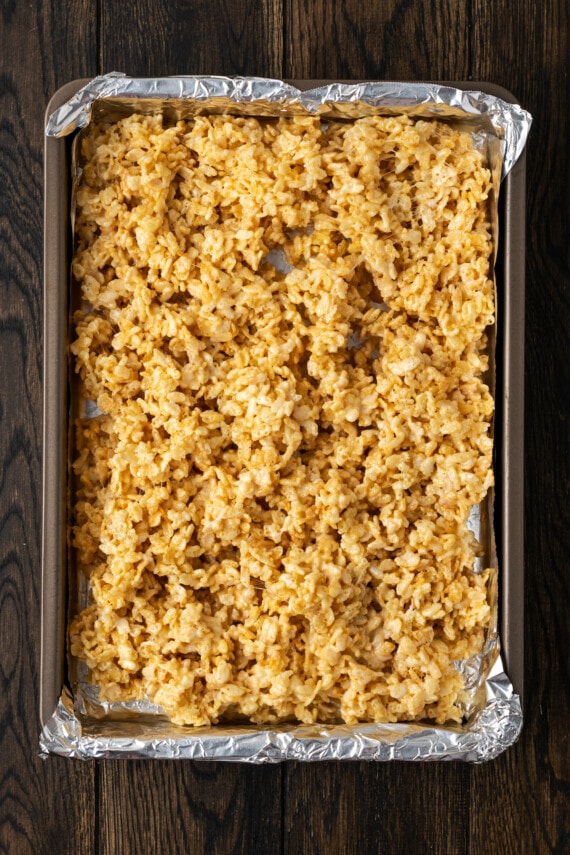
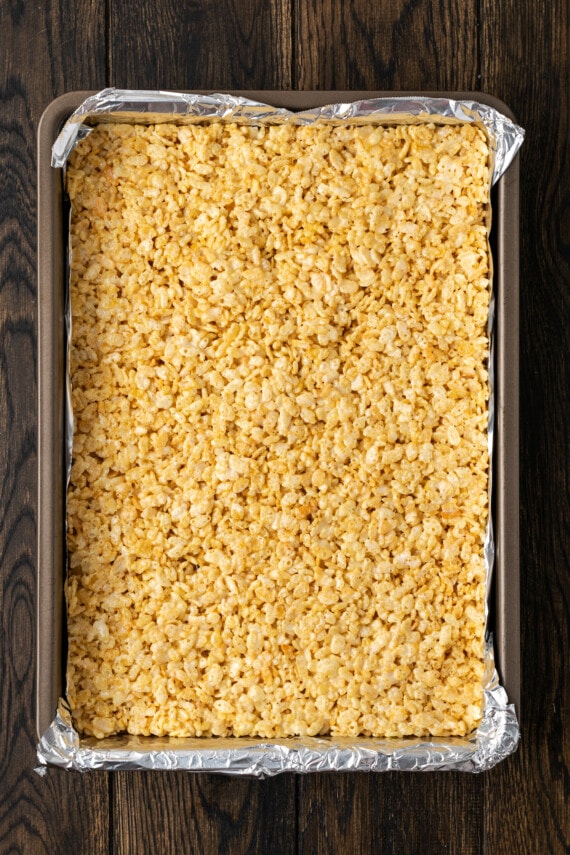
- Fill a baking pan. Now, you’ll scoop the mixture out into a greased 9×13 baking pan. Use your fingers or a spatula to press the Krispie treats into an even layer. After, let the treats cool in the pan for about 30 minutes.
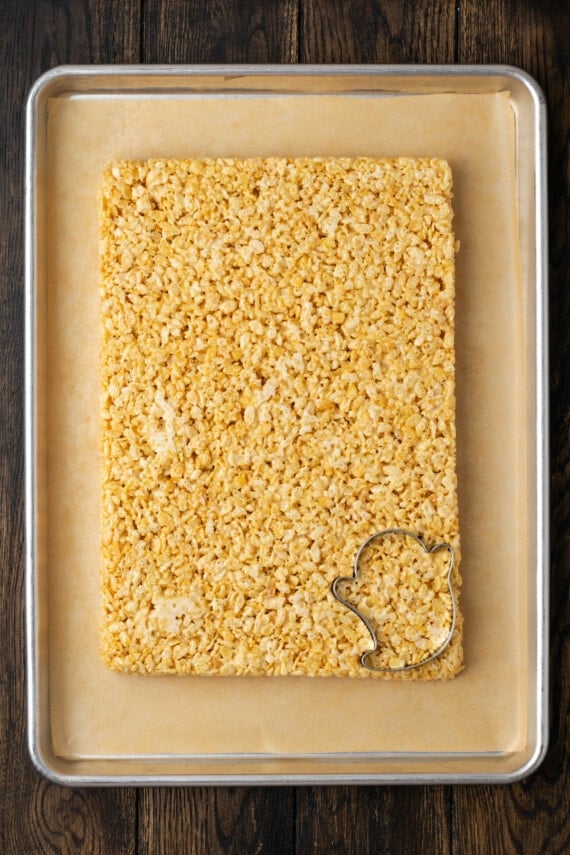
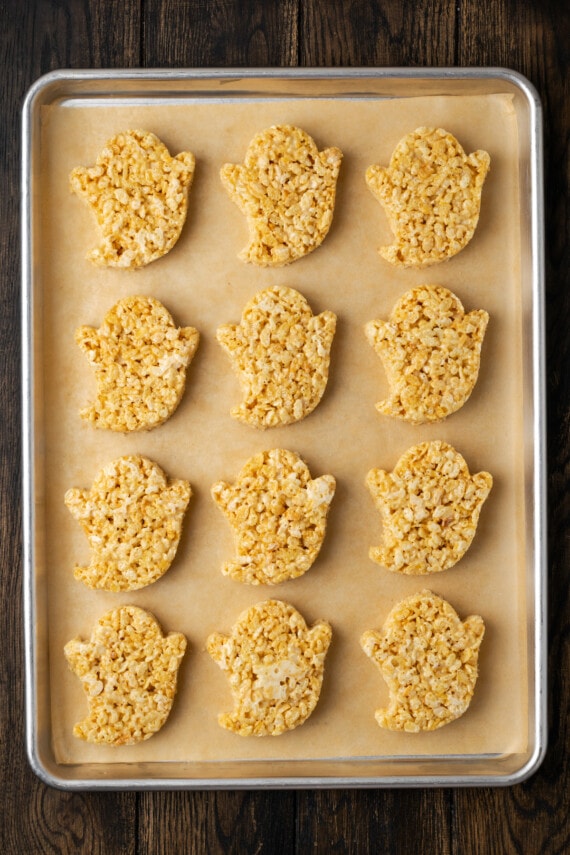
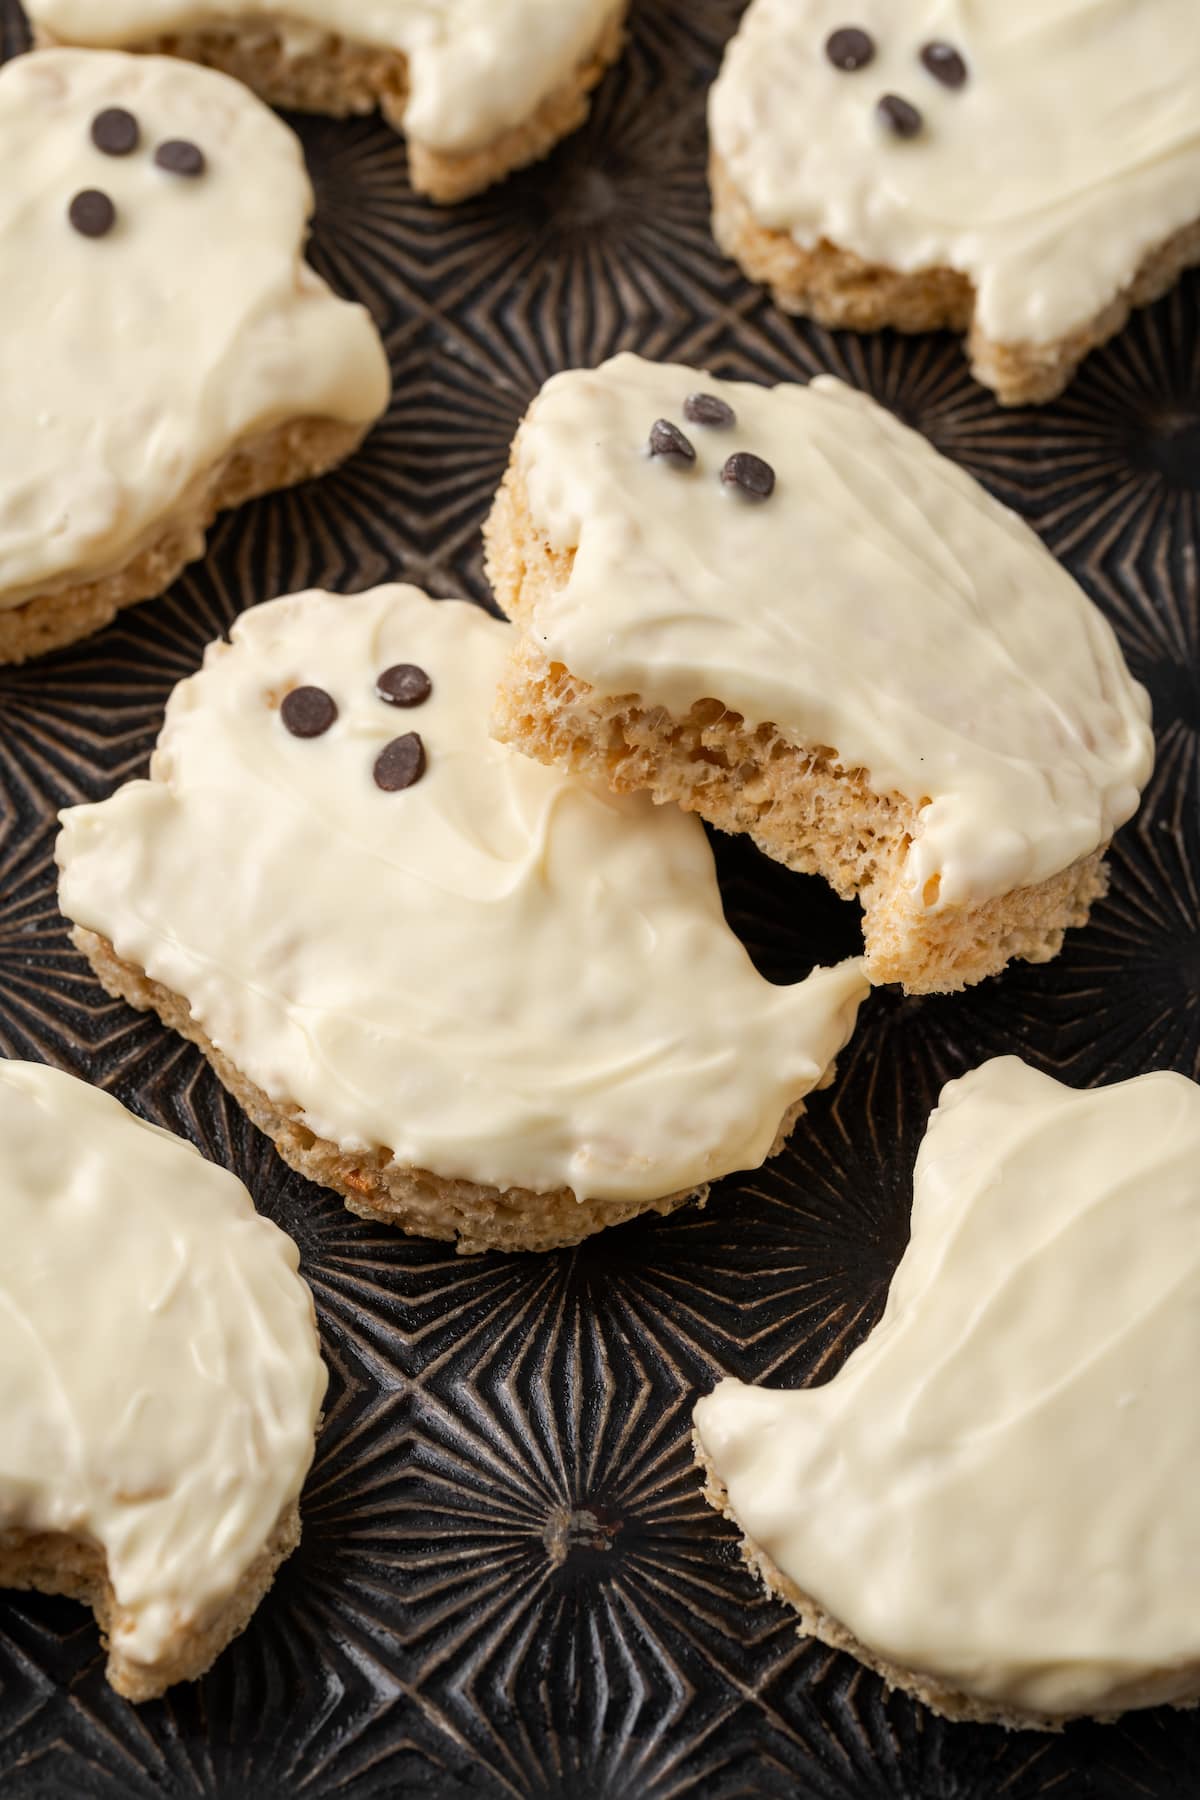
- Cut out the shapes. Flip the Rice Krispie treats out of the pan. Using a large ghost-shaped cookie cutter, cut out the treats. You should get about 10 ghosts, give or take. Place your cut-out ghosts onto a parchment-lined baking sheet for now.
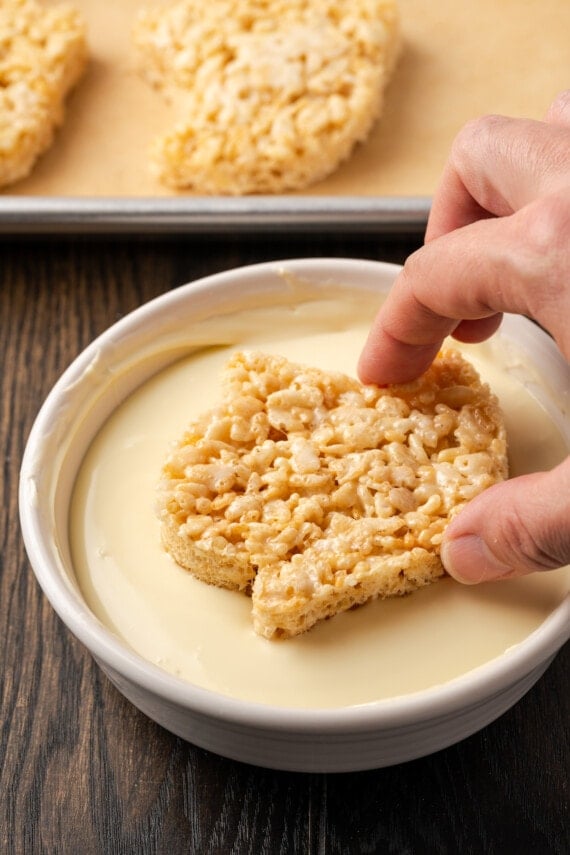
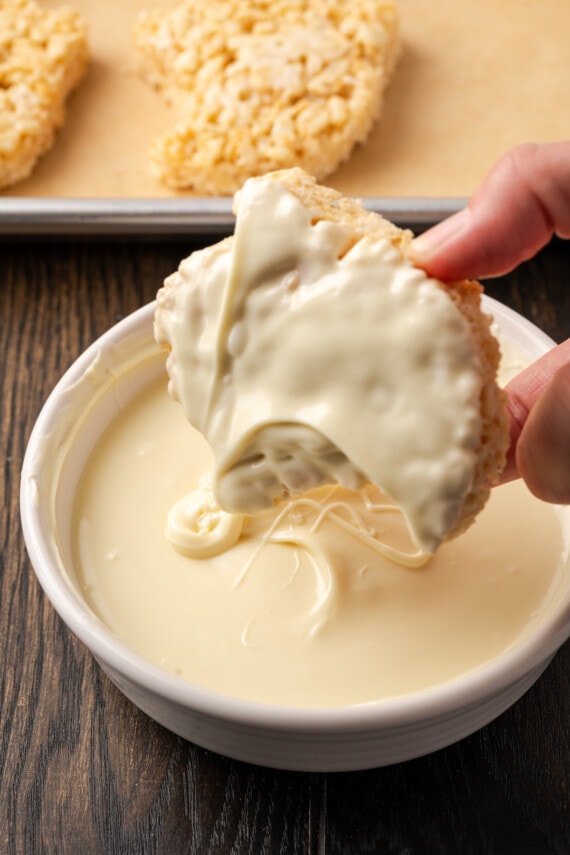
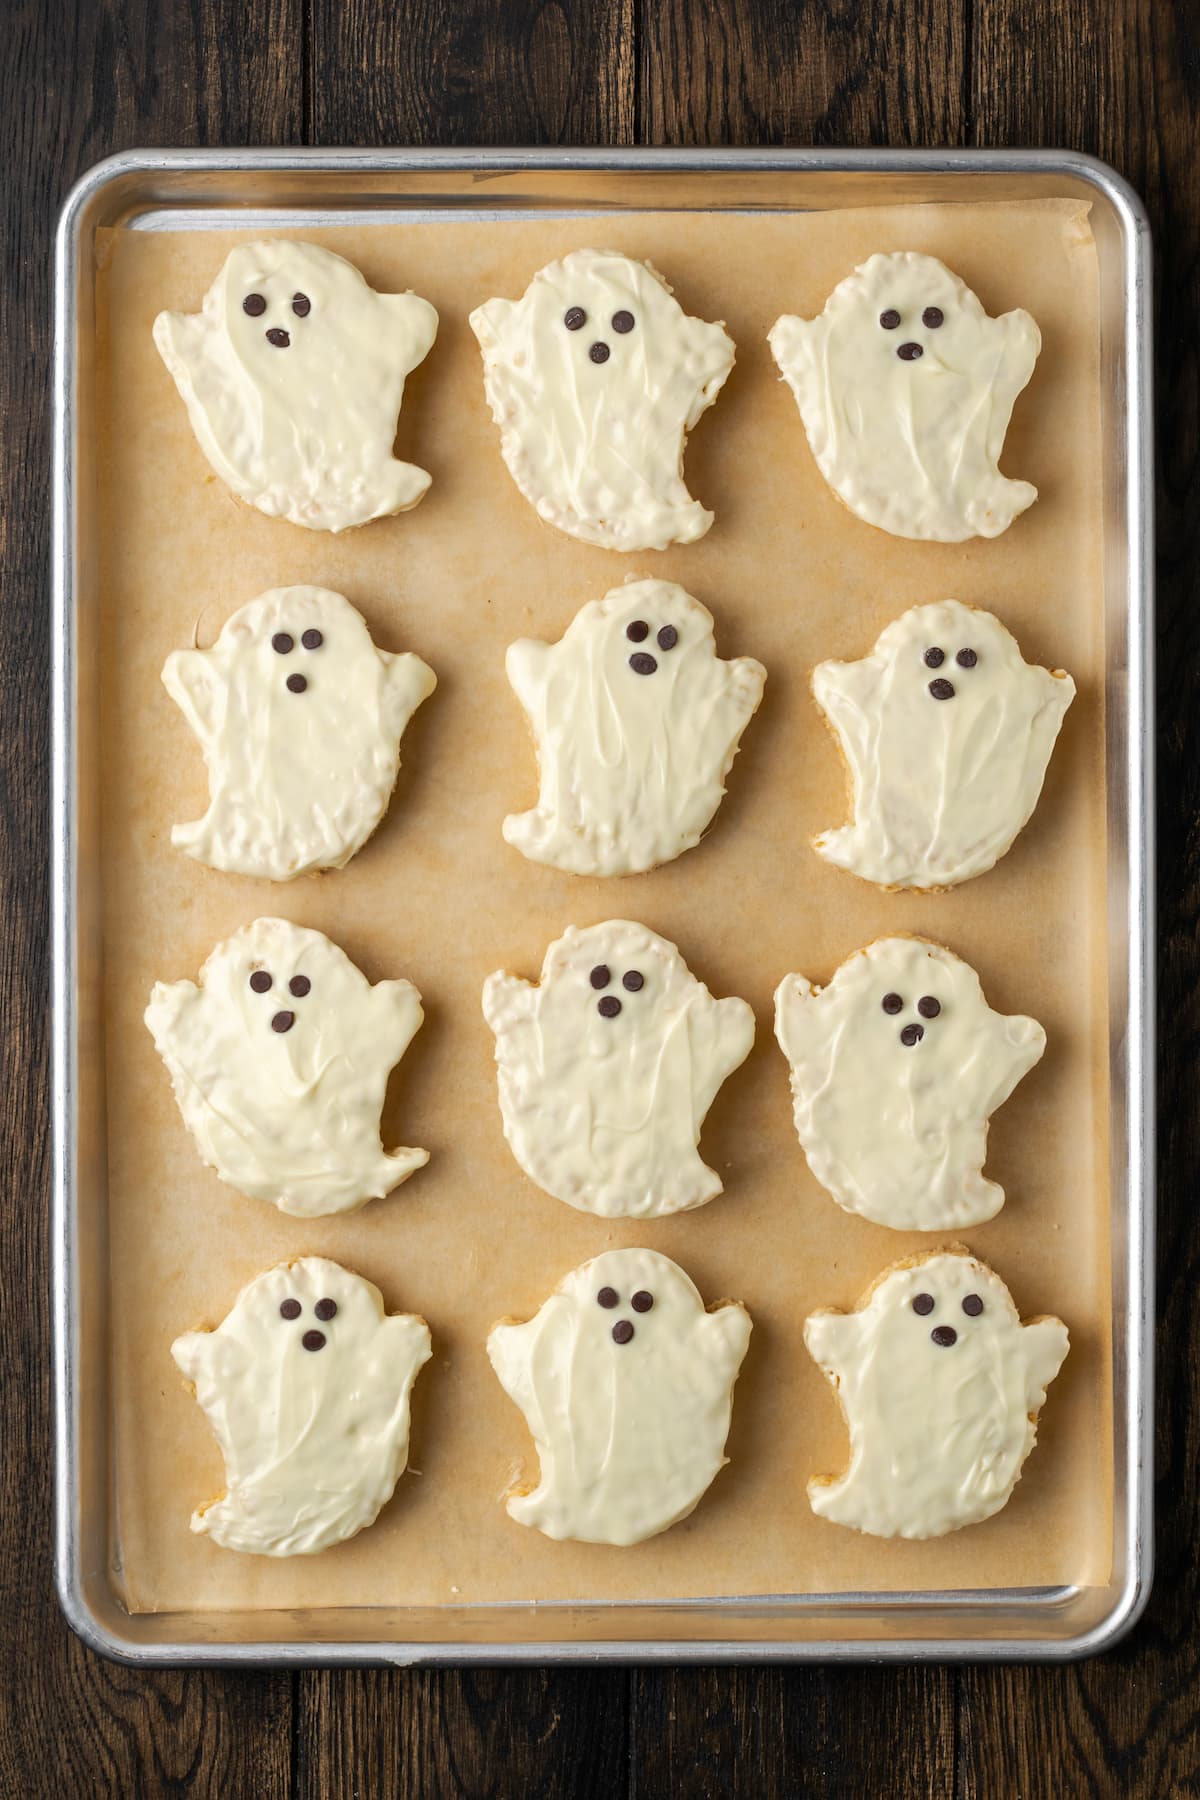
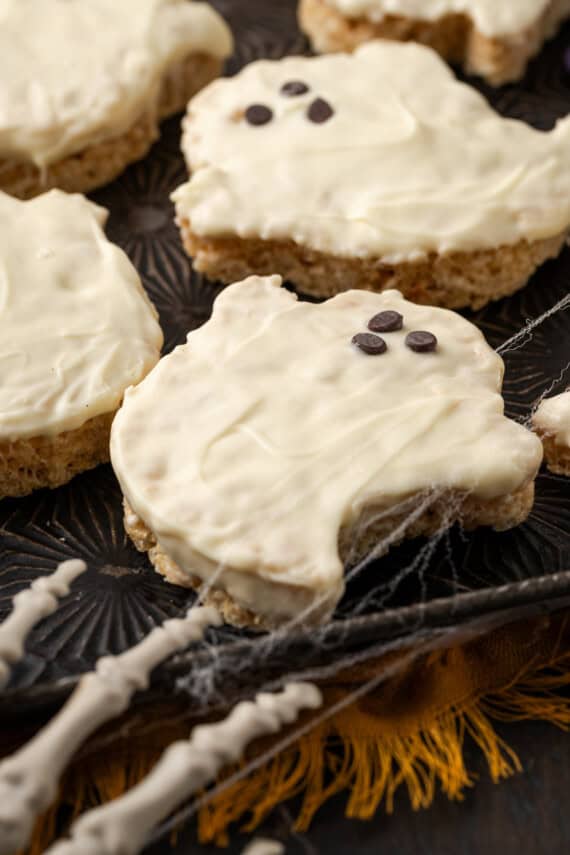
- Dip in chocolate. Melt your white chocolate in the microwave. One at a time, dip one side of the Krispie treat ghosts into the chocolate. Then, press three mini chips into the chocolate-covered ghost, to make the eyes and mouth. Let the Halloween Krispie treats set up on the baking sheet before storing them.
Can I Make Halloween Rice Krispie Treats Ahead?
Rice Krispie treats will always be at their chewy, crunchy best on the day they’re made. That being said, these Halloween Krispie treats will keep fresh enough for up to 3 days. Store the treats airtight at room temperature, with parchment paper between any layers. Whatever you do, do not store Rice Krispie treats in the fridge. They’ll become way too hard. See below for more storage instructions.
Tips for Success
These are such a fun Halloween food idea, and it doesn’t take a lot of effort! Here are some last-minute tips for the best homemade Krispie treat ghosts:
- Use up all of the Krispie treats mixture. After cutting out one batch of ghosts, mash together the leftovers to get as many ghosts as possible. If your Rice Krispies and marshmallow mixture starts to harden, you can warm it in the microwave for a few seconds so that it’s easier to press out.
- Don’t feel like dipping your ghosts? Melt your white candy disks and use an offset spatula to spread the chocolate over your Krispie treats. It’s a little less messy.
- Add the “faces” before the chocolate has set. Make sure to press the mini chocolate chips into the white chocolate before it’s set, so that they adhere.
- If the mini chocolate chips come off, dab a bit of melted chocolate on the back of the chocolate chips before pressing them back onto the ghosts.
- Turn your treats into pops. While your Halloween Krispie treats are still warm, insert a popsicle stick into the bottom and make ghostly Krispie treat pops!
Easy Variation Ideas
There are plenty of ways that you can customize your Halloween Krispie treats. Try these ideas:
- Cut out different shapes. Use your hands or cookie cutters to create a variety of spooky shapes. There are plenty of Halloween cookie cutters out there for pumpkins, black cats, bats, witches’ hats, and more! Decorate your krispie treats any way you’d like.
- Different colored candy melts. If you’re working with different shapes, go ahead and dip your treats in any colored candy melts you’d prefer.
- Frosting. Instead of dipping in chocolate, decorate your ghosties with chocolate frosting or festive pumpkin butter frosting.
- Add pumpkin spice. What’s fall or Halloween without a sprinkle of pumpkin spice? Borrow my recipe for pumpkin spice Krispie treats, then cut them out and get dipping.
- More add-ins. Stir in festive mix-ins, like candy corn Rice Krispie treats. I recommend chopping larger add-ins into smaller pieces so that they don’t interfere with the cookie cutter.
- Dairy-free. Substitute regular butter with dairy-free butter or coconut oil.
- Peanut butter. Add some peanut butter to the mix! Check out my recipe for peanut butter Rice Krispie treats or my salty-sweet Scotcheroos.
How to Store Halloween Krispie Treats
- To Store: Store any leftover Krispie treats in an airtight container at room temperature for up to 3 days. If you’re stacking them, be sure to place sheets of parchment paper between the layers so that the chocolate doesn’t stick.
- Freezer: These chocolate-coated Halloween Rice Krispie treats can be frozen for up to 2 months. Store them airtight and defrost the treats in the fridge before bringing them back to room temperature.

Halloween Krispie Treats
- Prep Time: 20 minutes
- Cook Time: 5 minutes
- Total Time: 25 minutes
- Yield: 10 ghosts 1x
- Category: Rice Krispie Treats
- Method: No Bake
- Cuisine: Dessert
Description
These cute little ghosts are perfect for Halloween! Serve them at your Halloween party, or individually wrap them up for a classroom treat!
Ingredients
- 4 tablespoons salted Challenge Butter
- 6 cups Crispy Rice Cereal
- 10 ounces mini marshmallows
- 10 ounces white chocolate or white candy melting discs
- 2 tablespoons mini chocolate chips
Instructions
- Spray a 9×13 baking dish lightly with nonstick spray. Set aside.
- In a large sauce pot over low heat melt the butter. Once it’s melted add in the marshmallows, stirring continuously until they are melted. Immediately remove the pot from the heat.
- Pour in the cereal and stir until coated evenly with the marshmallow mixture.
-
Spread the mixture into the prepared pan and press in evenly. Allow this to cool completely, at least 30 minutes.
-
Using a ghost cookie cutter, cut the krispie treats into shapes, careful to use as much of the krispie treat as possible, to minimize scraps. You should get 10 ghosts, if using a large cookie cutter.
-
Place these on a parchment lined baking sheet.
-
In a medium bowl melt your white chocolate in the microwave for 30 seconds and then removing to stir. Continue this process until the white chocolate is melted.
-
Dip one side of the krispie treat into the white chocolate. If you are having trouble doing this, you can spread the white chocolate on top with an off-set spatula.
-
Immediately press 3 mini chips into the ghost to make the eyes and the mouth. Place the treats back on the lined baking sheet so the white chocolate can set.
-
Serve immediately or store airtight for up to 3 days.
Notes
Store airtight at room temperature for up to 3 days.











These are so cute! Perfect for a school treat!
Ok. You win. I loose. These are way to cute. I mean, showstopping cute. Please. Keep me off Pinterest. Waste way too much time =)
Butter and Marshmallows are both gluten free so if you use a gluten free crispy cereal you can also make them gluten free. (Chocolate can contain gluten in different additives so if this is a concern skip the chocolate coating or make sure to use a certified gluten free brand.)
Oh they look adorable! So cute!