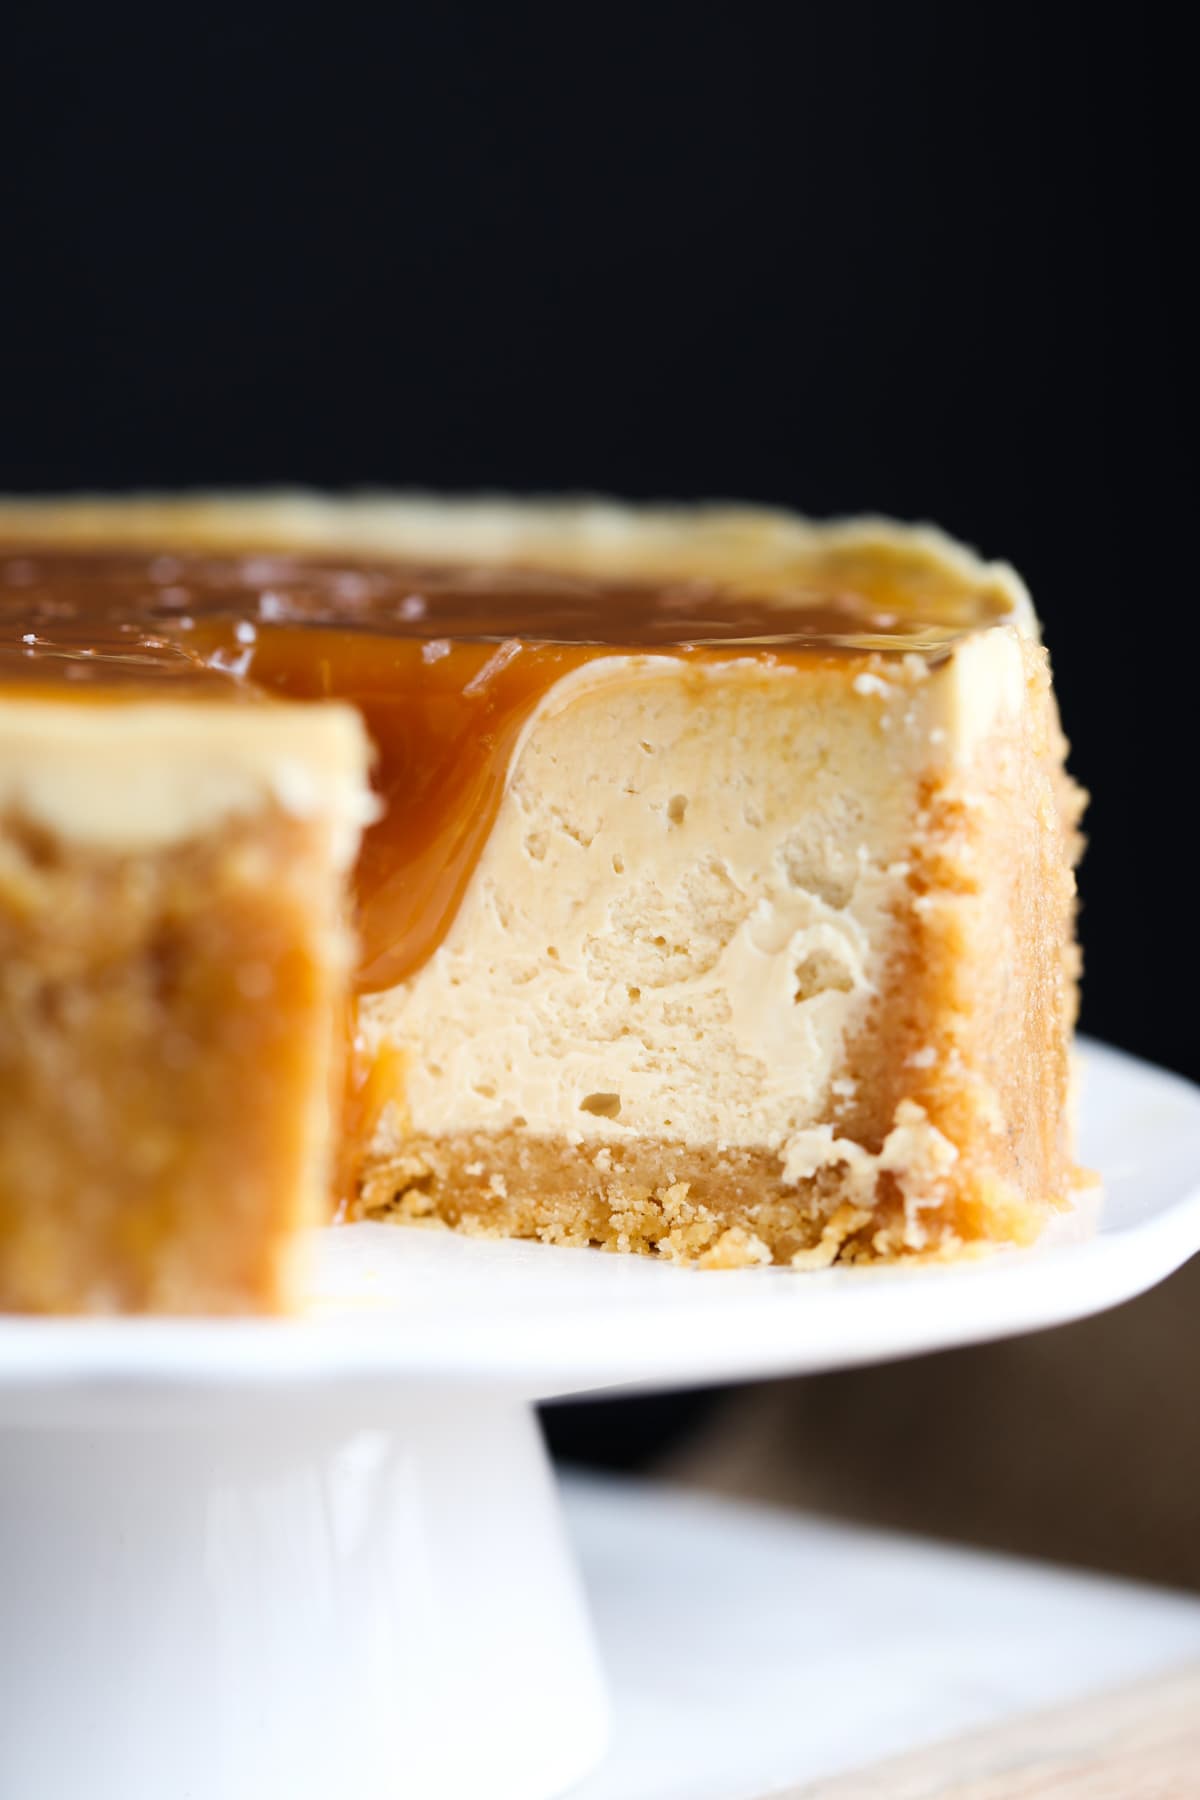
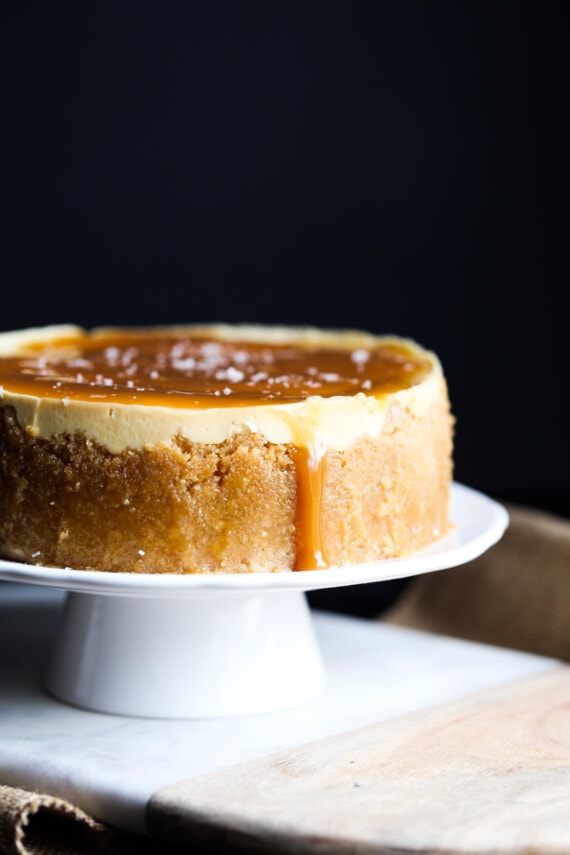
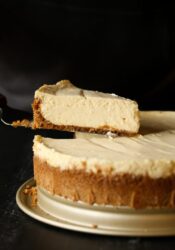
This caramel Instant Pot cheesecake recipe is a total game-changer! Make rich and creamy, perfect homemade cheesecake topped with salted caramel right in your pressure cooker, with hardly any effort.
Cheesecake is one of my favorite Instant Pot dessert ideas. For a more traditional cheesecake recipe, check out my sour cream cheesecake and easy no bake cheesecake.
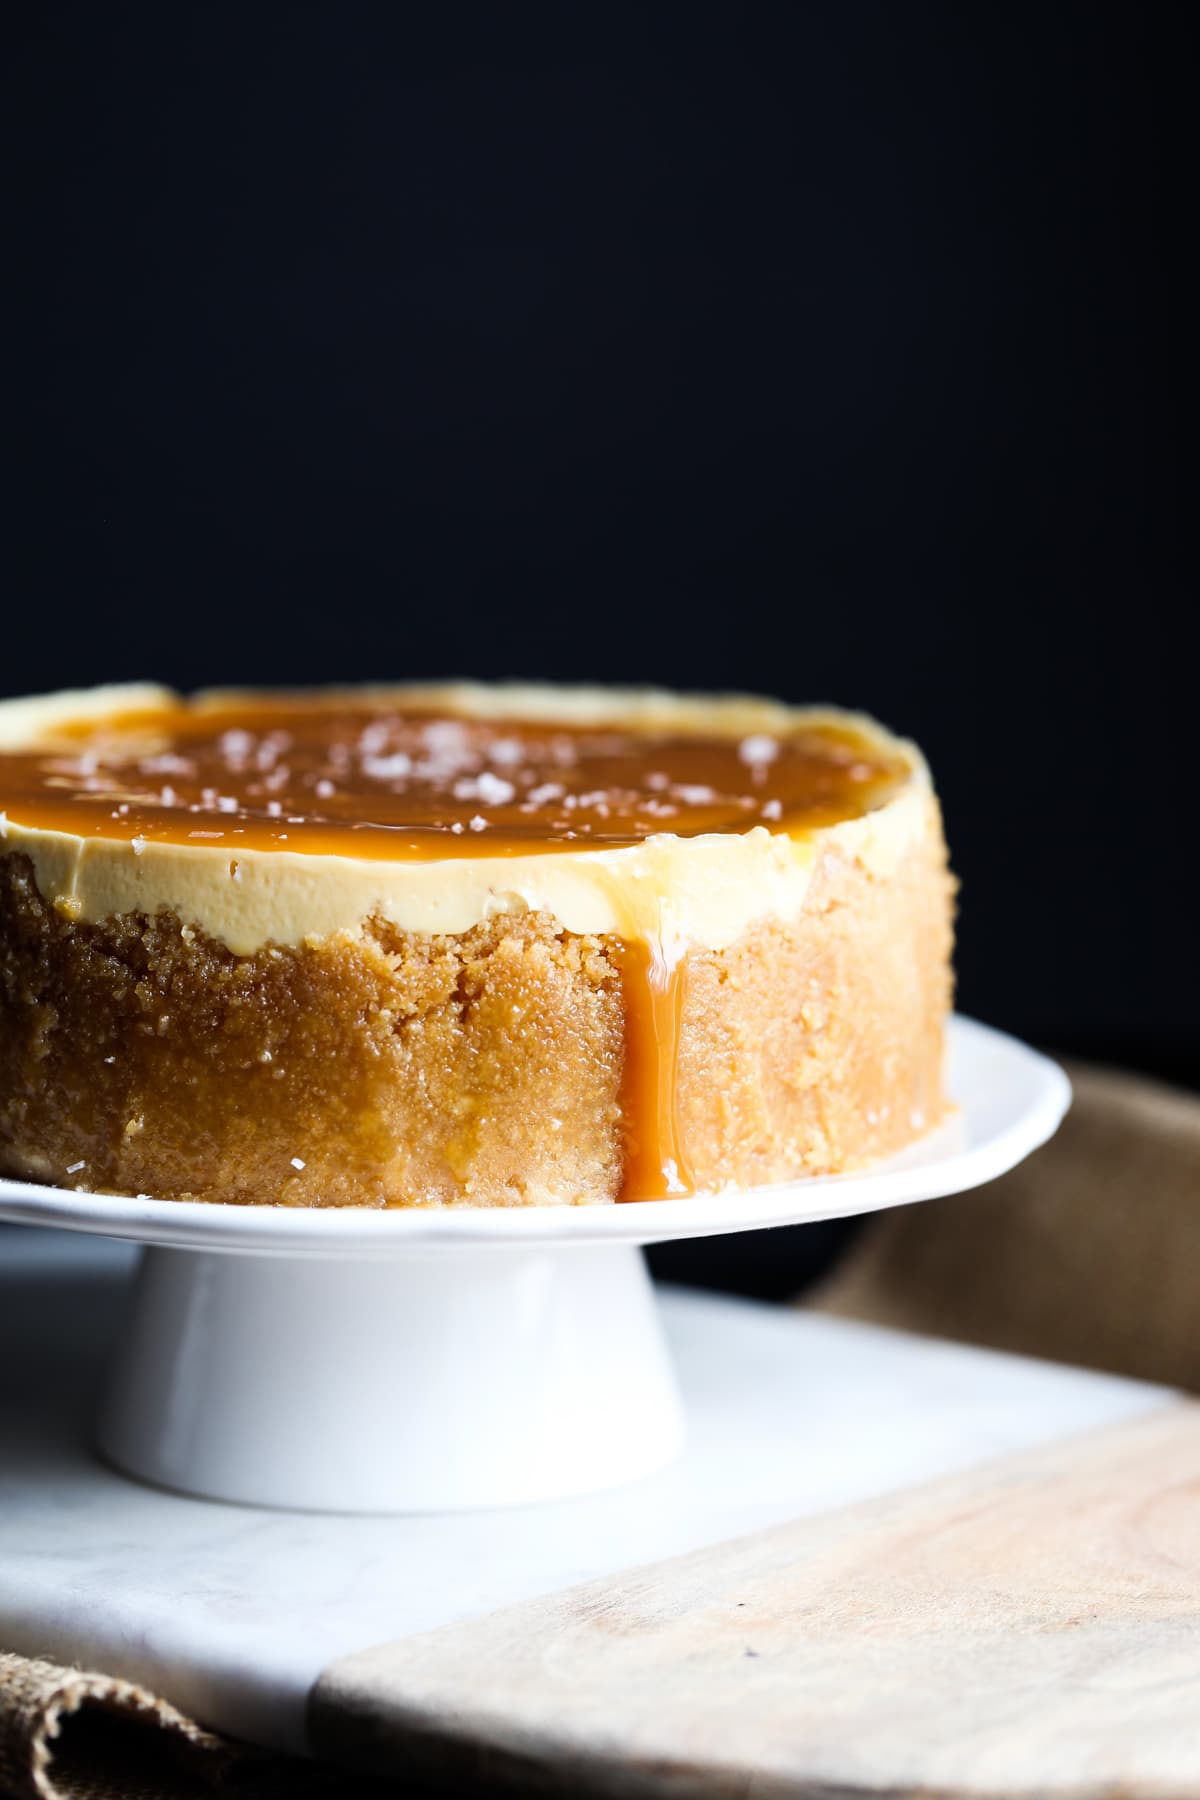
Why You’ll Love This Caramel Instant Pot Cheesecake Recipe
Diamonds aren’t the only things forged under pressure – it turns out that luscious homemade cheesecake is, too! This caramel Instant Pot cheesecake recipe proves that pressure cookers aren’t just for savory dinners. This irresistibly rich and creamy cheesecake topped with salted caramel is so easy to make. Here’s why you’ll be obsessed:
- Perfect cheesecake. Not only does this recipe keep things simple, but it also produces the most rich, creamy, dreamy cheesecake in under an hour without any water baths or cracking. The Instant Pot is the answer to all of your cheesecake prayers!
- Creamy caramel. This cheesecake recipe uses brown sugar and a thick topping of caramel sauce for loads of rich, caramelized flavor in every bite. I add a sprinkle of sea salt for that irresistible sweet-salty contrast.
- Easy method. Making cheesecake in the Instant Pot is super straightforward, whether you’re a beginner or a pressure-cooking whiz. Let’s walk through it!
Ingredients You’ll Need
The following is a quick overview with notes on the cheesecake ingredients. Be sure to scroll to the recipe card for the full amounts and recipe instructions.
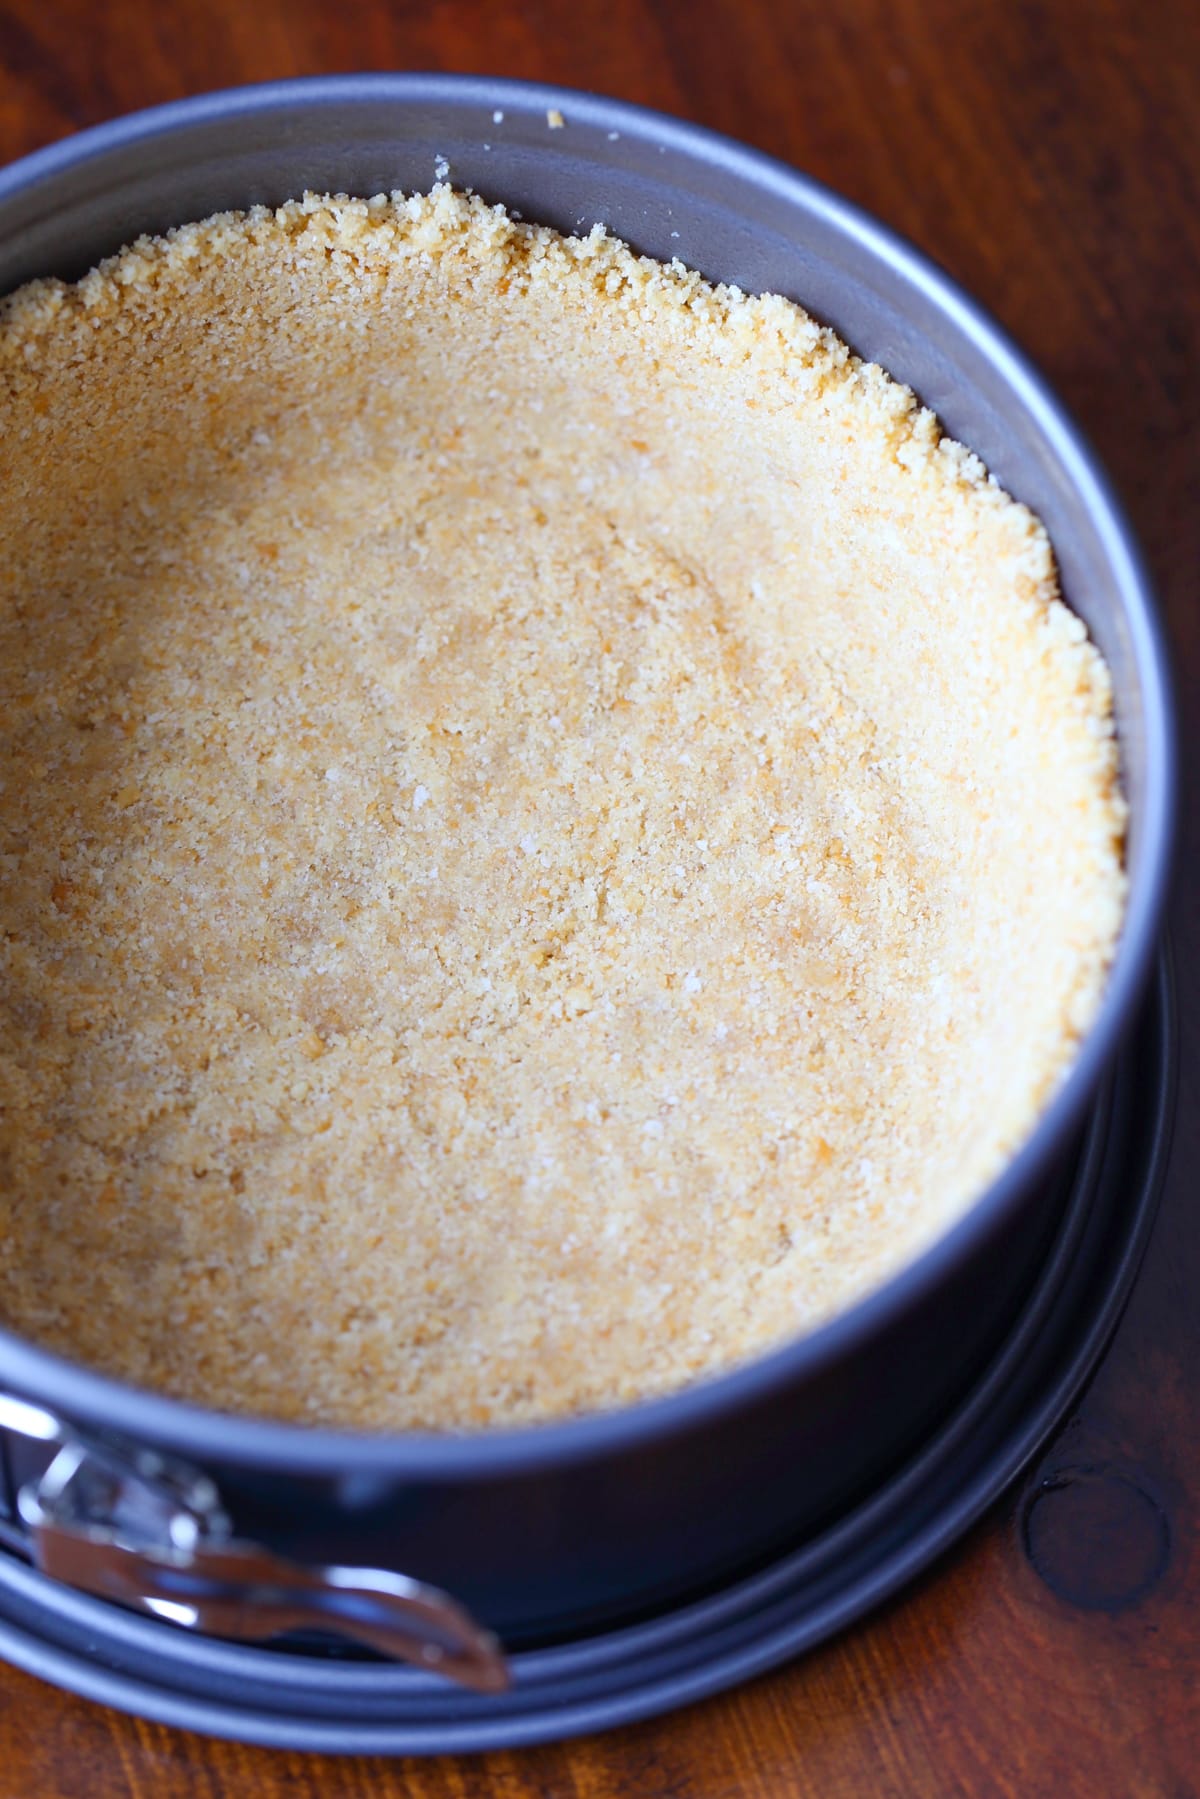
- Crust – I love a sweet-salty Ritz cracker crust, but you can also use crushed graham crackers, Biscoff cookies, Nilla wafers, or Oreos. Combine your choice of crumbs with melted butter and sugar to make the crust.
- Cream Cheese – Make sure it’s brought to room temperature.
- Brown Sugar – You can also use granulated sugar.
- Sour Cream – For extra moisture. Plain Greek yogurt is a good substitute if you don’t have sour cream.
- Flour
- Salt
- Vanilla – Use real vanilla extract for the purest flavor.
- Eggs
- Caramel Sauce – Your favorite jarred caramel sauce from the store, or make homemade microwave caramel sauce.
- Sea Salt
How to Make Caramel Instant Pot Cheesecake
Never in a million years did I think that I would use my Instant Pot to make dessert! All you need for this Instant Pot cheesecake is your Instant Pot (obviously) and a springform pan. Here’s how it’s done:
- Make the crust. Combine Ritz cracker crumbs, butter, and sugar. Press the mixture into your greased and lined springform pan.
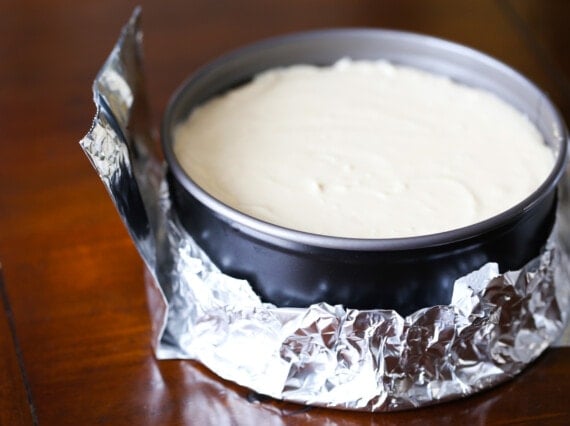
- Make the cheesecake filling. Next, beat the cream cheese with sugar, add sour cream, and then mix in the flour, salt, and vanilla for the filling. Lastly, fold in the eggs. Pour the filling into your prepared crust.
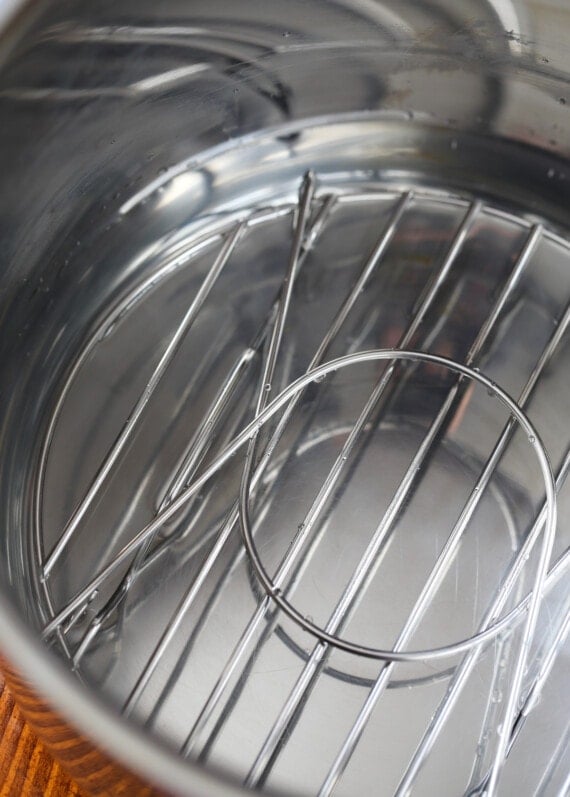
- Prepare the Instant Pot. Add water to the Instant Pot and fit it with the trivet (most models come with one).
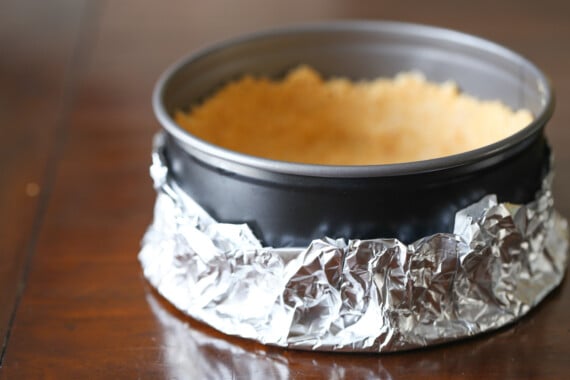
- Prepare the pan. Wrap the bottom of the springform pan with a layer of foil, with a paper towel in between the pan and the foil as a barrier. You’ll use a second, long piece of foil to create a “sling” for the cheesecake so that it’s easy to lower into the pot.
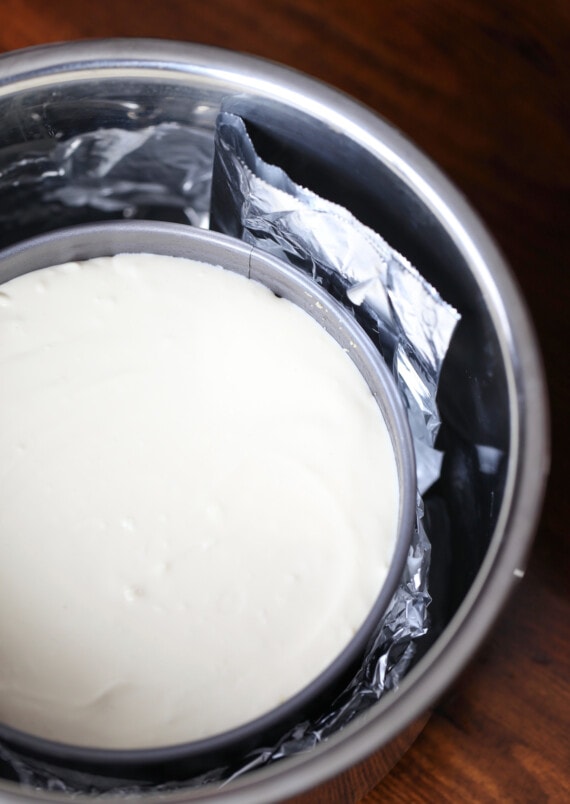
- Cook. Carefully place the cheesecake into the Instant Pot by holding both sides of the foil. Afterward, seal the lid and set the pot to pressure cook on High for 35 minutes. Let the pressure release naturally once the cooking time is up.
- Cool. Use your sling to lift the cheesecake from the pot and place it on a wire rack to cool. After an hour, cover and refrigerate the cheesecake in the pan overnight.
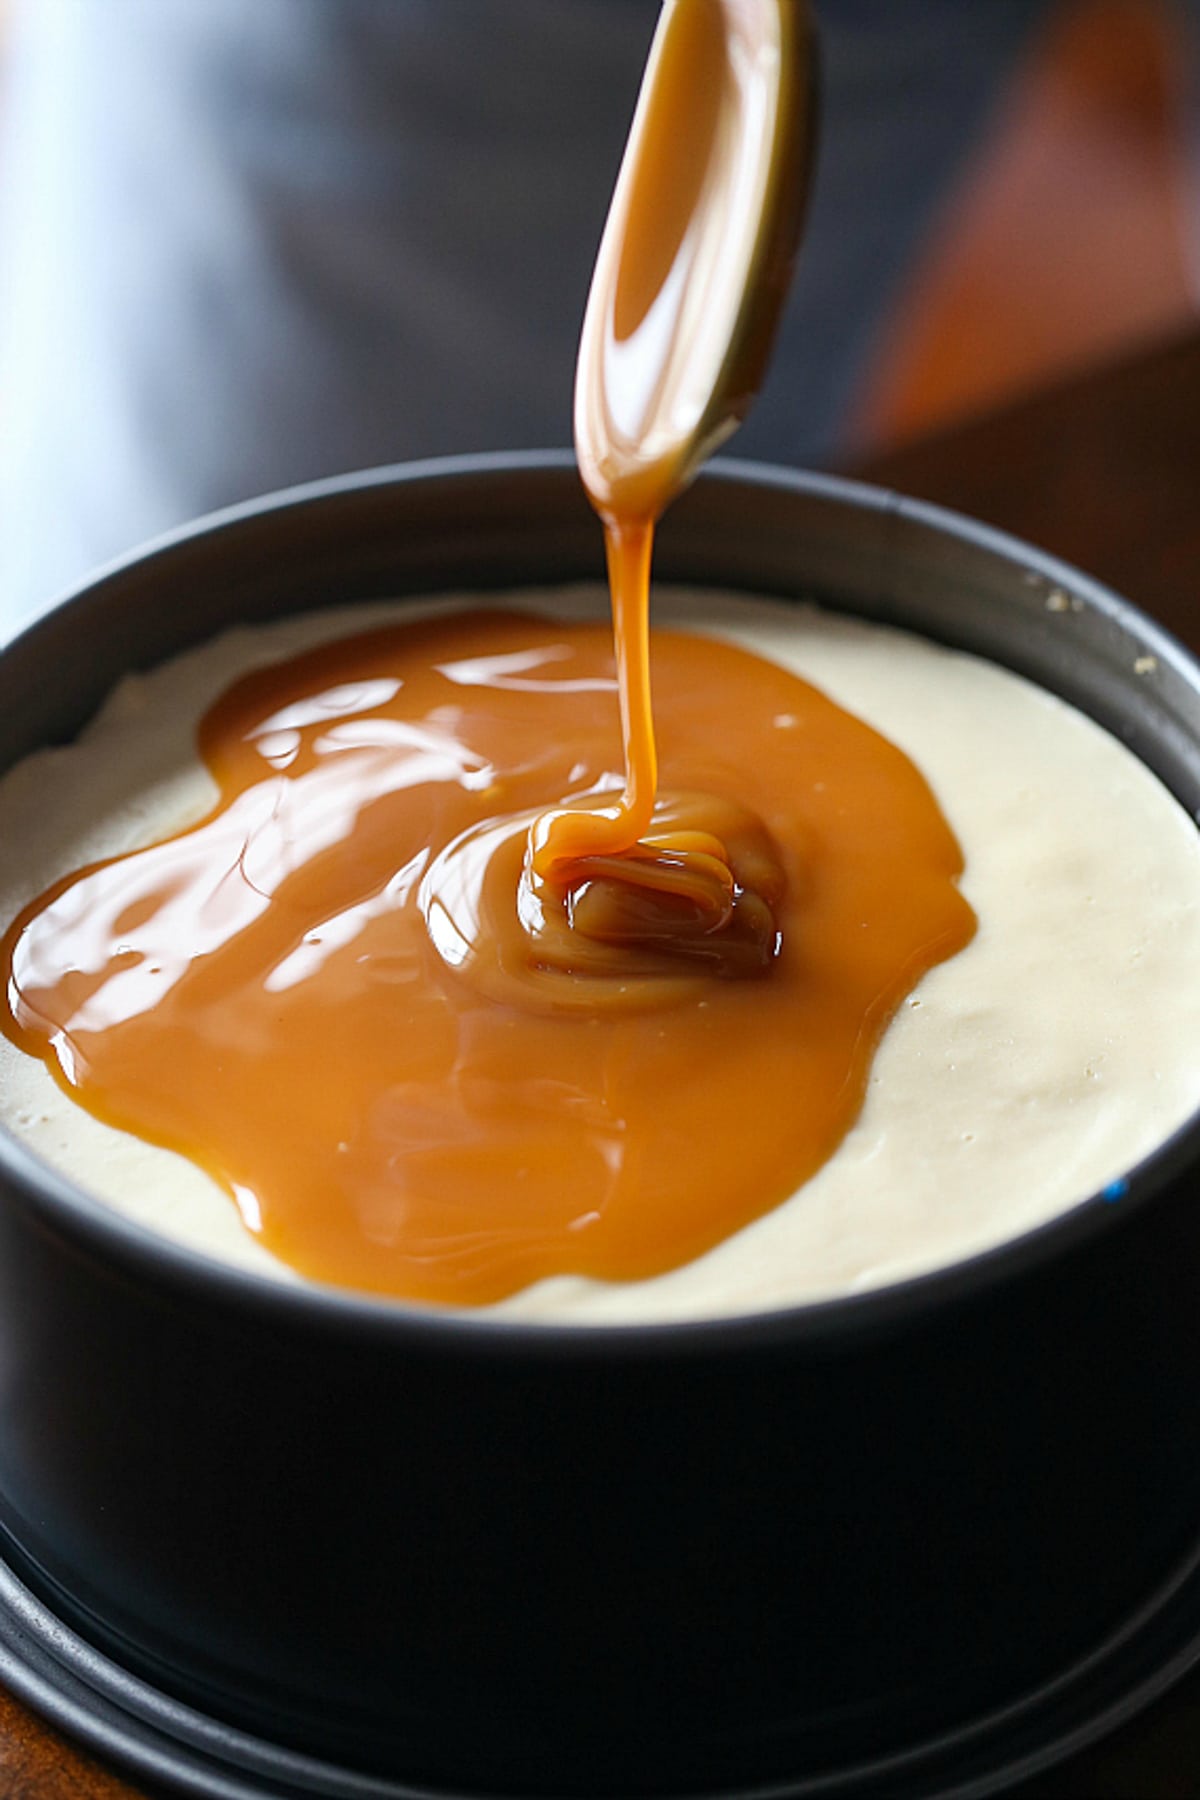
- Finish and serve. When you’re ready to serve, spread caramel sauce over the chilled cheesecake. Release it from the pan and sprinkle the top with sea salt before slicing.
How Long Do You Cook a Cheesecake in an Instant Pot?
This Instant Pot cheesecake recipe takes approximately 35 minutes at High (Manual) pressure. Note that the Instant Pot takes an additional 10-15 minutes to come to pressure before the cooking time commences, followed by a natural release. When you finally lift the lid, the cheesecake should be set at the edges with a slight jiggle in the middle.
Tips for the Best Instant Pot Cheesecake
Here are my tips and tricks to make the whole Instant Pot Cheesecake process that much easier! Plus, some simple variations:
- Grease and line the pan. Make sure to coat your springform pan lightly with nonstick spray and place a round piece of parchment in the bottom (and spray again). It makes removing the cheesecake SO much easier.
- Pack the crust firmly into the pan. I use the bottom of a glass to help pack the crust mixture tightly and evenly into the bottom and up the sides of the pan.
- Don’t overmix the cheesecake batter. Too much air in the cheesecake batter can lead the cheesecake to puff up and then deflate.
- Don’t skip the paper towel. Cut a piece of foil slightly larger than a paper towel, and wrap the foil (with the paper towel inside) around the bottom of your cheesecake pan. This keeps moisture away from the crust and prevents any water from seeping into the pan.
- Create a foil “sling” for easy removal. This is a trick that I picked up from this cheesecake recipe on the Instant Pot website. Fold a long piece of foil into thirds and place it under the pan, so the long sides can be used as a sling to put the pan in and remove it from the Instant Pot.
- Loosen the cheesecake from the pan. Use a knife to gently loosen the edges of the cheesecake before releasing it from the springform pan. Make sure to chill the cheesecake for at least 4 hours (ideally overnight) before removing it, so that it has time to set fully.
- Use a spare sealing ring. While not 100% necessary, I recommend buying an extra sealing ring for your Instant Pot to use when making desserts. The silicone rings absorb flavors easily. So, if you go from cooking, say, salsa verde chicken in your Instant Pot one day to a cheesecake the next, the sealing ring can impart savory flavors into the cheesecake. Swapping out the rings avoids this.
- Adapt the toppings. Making this recipe for the holidays? Swap out regular caramel with apple cider caramel sauce or pumpkin spice caramel sauce. if caramel isn’t your thing, try pourable chocolate ganache instead!
Can I Make This Cheesecake In the Oven Instead?
No pressure cooker? No worries! You can bake this cheesecake in your oven instead. Prepare the cheesecake, wrap the pan as directed, and bake the cheesecake in a water bath at 325ºF for 50 minutes. After the cheesecake has had a chance to chill and set, add the caramel as usual. I include the full directions in the recipe card, and you can also check out my classic cheesecake recipe for details.
How to Store Caramel Cheesecake
- Fridge. Store this Instant Pot cheesecake airtight in the refrigerator for up to 5 days.
- Freeze. To freeze this caramel cheesecake in the longer term, store or wrap the chilled cheesecake airtight and keep it frozen for up to 3 months. Thaw the cheesecake in the fridge overnight before serving.
More Cheesecake Recipes
- Banana Blondie Cheesecake
- Cannoli Cheesecake
- Pumpkin Cheesecake
- Chocolate Cheesecake
- Banana Pudding Cheesecake
Caramel Instant Pot Cheesecake
- Prep Time: 20 minutes
- Cook Time: 35 minutes
- Total Time: 55 minutes
- Yield: serves 8
- Category: Dessert
- Method: Instant Pot
- Cuisine: American
Description
This caramel Instant Pot cheesecake is a total game-changer! Try this irresistibly rich and creamy cheesecake recipe that’s made in the Instant Pot and then smothered with salted caramel.
Ingredients
Crust
- 1 1/2 cups finely crushed ritz, about 1 1/2 sleeves
- 4 tablespoons butter, melted
- 2 tablespoons sugar
Cheesecake
- 16 ounces cream cheese, room temperature
- 1/2 cup light brown sugar
- 1/4 cup sour cream
- 1 tablespoon flour
- 1/2 teaspoon kosher salt
- 1 1/2 teaspoons vanilla
- 2 eggs
Topping
- 1/2 cup caramel sauce
- 1 teaspoon flaked sea salt
Instructions
- Spray a 7- inch springform pan lightly with cooking spray. Cut a piece of parchment paper to fit the bottom of the pan and spray again. Set aside.
- In a large bowl combine the Ritz crumbs, butter and sugar evenly. Press the mixture firmly into the bottom and up the sides of the prepared pan. Set aside.
- In the bowl of your stand mixer beat the cream cheese and sugar until combined and even. Add in the sour cream and mix for 30 more seconds until smooth, add in the flour, salt and vanilla, scraping the sides of the bowl as necessary. Finally add in the eggs and mix until just smooth. Don’t over-mix.
- Pour the cream cheese mixture into the prepared crust.
- Pour 2 cups of water into the bottom of your Instant Pot. place the trivet that came with the pot into the bottom. Cut a piece of aluminum foil the same size as a paper towel. Place the foil under the paper towel and put the springform pan on top of the paper towel. Wrap the bottom of the pan in the foil, with the paper towel as a barrier.
- Next take another piece of foil about 18- inches long folded into thirds long-wise. Place this under the springform pan and use the two sides as a “sling” to place the cheesecake into the pot. It will also make it very easy to remove the cheesecake from the Instant Pot when it’s done.
- Once the pan is in the Instant Pot secure the lid and press the manual button. Adjust the pressure to high and set for 35 minutes, making sure the vent is closed.
- Let the cheesecake cook and then allow the pressure to release naturally.
- Remove the cheesecake from the pot using the sling you prepared and place on a wire rack to cool the cheesecake for an hour. Cover the cheesecake in the pan with foil and place int he refrigerator to chill for at least 4 hours or overnight.
- When you’re ready to serve, top the cheesecake with the caramel sauce and sprinkle with sea salt. Using a butter knife loosen the sides of the cheesecake from the pan and release the sides of the pan.
- Store airtight refrigerated for up to 5 days
Notes
Oven directions: If you don’t have a pressure cooker or Instant Pot you can bake this in the oven.
- Preheat your oven to 325°F .
- Follow steps 1-5, then set the springform pan in a larger pan. Pour about 1 inch of boiling water into the larger pan to create a water bath. Bake for 50 minutes. The edges will look set but the center will jiggle when the pan is tapped.
- Turn off the oven and prop the door open. Allow the cheesecake to rest in the warm oven for at least an hour. The center should now be set. Chill for at least 4 hours or overnight.
- When you’re ready to serve, follow steps 10-11.
Nutrition
- Serving Size: 1 slice
- Calories: 455
- Sugar: 21.2 g
- Sodium: 808.4 mg
- Fat: 31.8 g
- Carbohydrates: 36.5 g
- Protein: 7.2 g
- Cholesterol: 123.2 mg
Want To Save This Recipe?
Find more recipes like this:
The links included in this post are Amazon affiliate links. This post was not sponsored, nor am I affiliated with Instant Pot.






What’s the best kind of caramel sauce to use?
I prefer a thicker style caramel sauce that comes in a jar as opposed to the thinner versions that are typically used for ice cream topping that come in a squeeze bottle! But honestly, any type will work!
Made this for first time last week, exactly as written.
It was AMAZING!!!
Am making again, this weekend for company.
Thank you, so much, for sharing
Can you make this in a 6 inch pan. Do you alter recipe?
I’m making this for the first time. I didn’t read the comments first so I didn’t put any foil over the top. I am just going to hope and pray there won’t be too much condensation. I’ll be so disappointed if it gets ruined. But I am holding out for hope and prayers this go around. The cheesecake looks fabulous! Thank you! Happy Thanksgiving y’all!
This looks so lovely! Can I make it in a 3-qt cooker by just cutting the ingredients in half? Thanks!
Made this an happy to use ritz crackers
First time making a cheesecake in my instant pot.
Made this last weekend, followed the recipe to the T and came up perfectly.
I should have covered it with some aluminum foil to prevent the condensation from getting on top of the cake but it’s ok… the cake was already cooked so it was easy to pour the few drops out, it didn’t ruin it.
No batter sipped out, I don’t know if it’s because of the pan or because my crust went up on the sides.
Anyhow, it was so so delicious! Thank you for sharing this.